Paul Galatis
Paul Galatis
Set up an iPhone Without the Internet for your kids
Set up an iPhone Without the Internet for your kids
This article jumps straight into the technical setup of creating a locked down iPhone with only the things you want. But if you want the backstory to how this came about and the reasoning behind why I think this is a great setup for our kids, start here.
Getting Started
Setting up your locked down iPhone involves using a Mac computer, an iPhone you're happy to wipe clean and an app called Apple Configurator.
If you are not technically inclined, this may feel daunting, but if you simply follow the steps below it's very doable.
The Pros of Apple Configurator
High friction equals strong protection
Making changes once your phone is configured is hard. And this is a good thing. You must physically connect your iPhone to a laptop, open Apple Configurator, and navigate a fairly unintuitive workflow. There is no quick override, no four-digit code like with Screen Time, and no impulse to “just install this one app”. This friction is a feature.
You can completely disable the App Store
This is a huge win. Kids are creative, with many downloading apps they shouldn’t be and then deleting them before anyone notices. Removing the App Store removes the temptation and the cycle of download–hide–deny. If reducing distraction is the goal, losing the App Store is a massive step forward.
Control the web, or turn it off
You can remove the browser entirely, or allow access only to specific sites. For example, we allow our kids to use Google. My son checks football and F1 results, so our phone allows access to only google.com and its results, but every link he clicks goes nowhere. This means no rabbit holes and no accidental detours into the wilds of the internet.
Disable the camera
Many schools struggle with cameras. When every child has a recording device, more silly or risky behaviour appears because it “makes good content.” With Apple Configurator you can simply turn the camera off, solving the problem before it starts.
The Cons of Apple Configurator
It requires a factory reset
There is no way around it. To use Apple Configurator you must start with a completely reset iPhone. Hopefully you have an old one lying around or can get your hands on an affordable second hand version.
Setup is not plug-and-play
Getting your setup right can take patience. You will probably configure your phone, realise you forgot something, reset again, tweak, repeat. It feels clunky compared to tapping around Screen Time or the App Store. But keep going because once you've got it right, it is rock-solid and absolutely worth the effort.
You have to have a Mac to use Apple Configurator
If you're a PC family, there is bad news. In order to use Apple Configurator, you have to have a Mac. But the good news is that if you have a friend with a Mac, you can do this setup by borrowing their machine for 30mins.
The How-To Guide
If you want to do this yourself, it’s going to take a 1-hour initial commitment followed by another hour or two of tweaks over the next few days as you refine your setup to the point that have just the apps and the websites you actually need.
Okay, let’s go!
1. Factory reset your iPhone
Time to reset your iPhone.
Go to Settings → General → Transfer or Reset iPhone → Erase all content and settings.
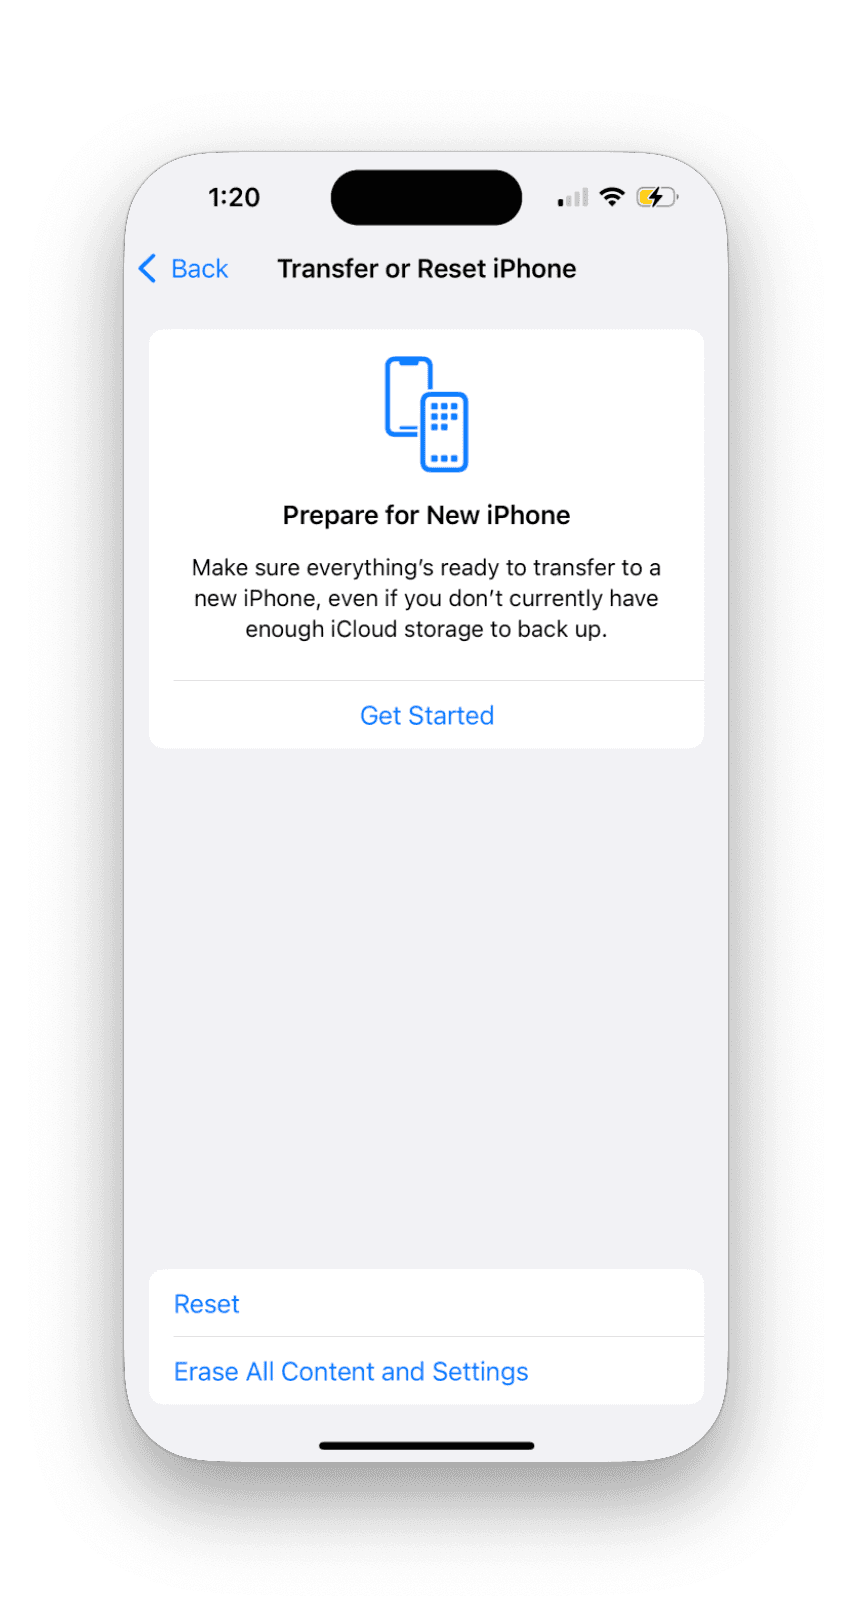
This is the first, and the scariest step. Do it, and you are on the journey.
2. Install Apple Configurator
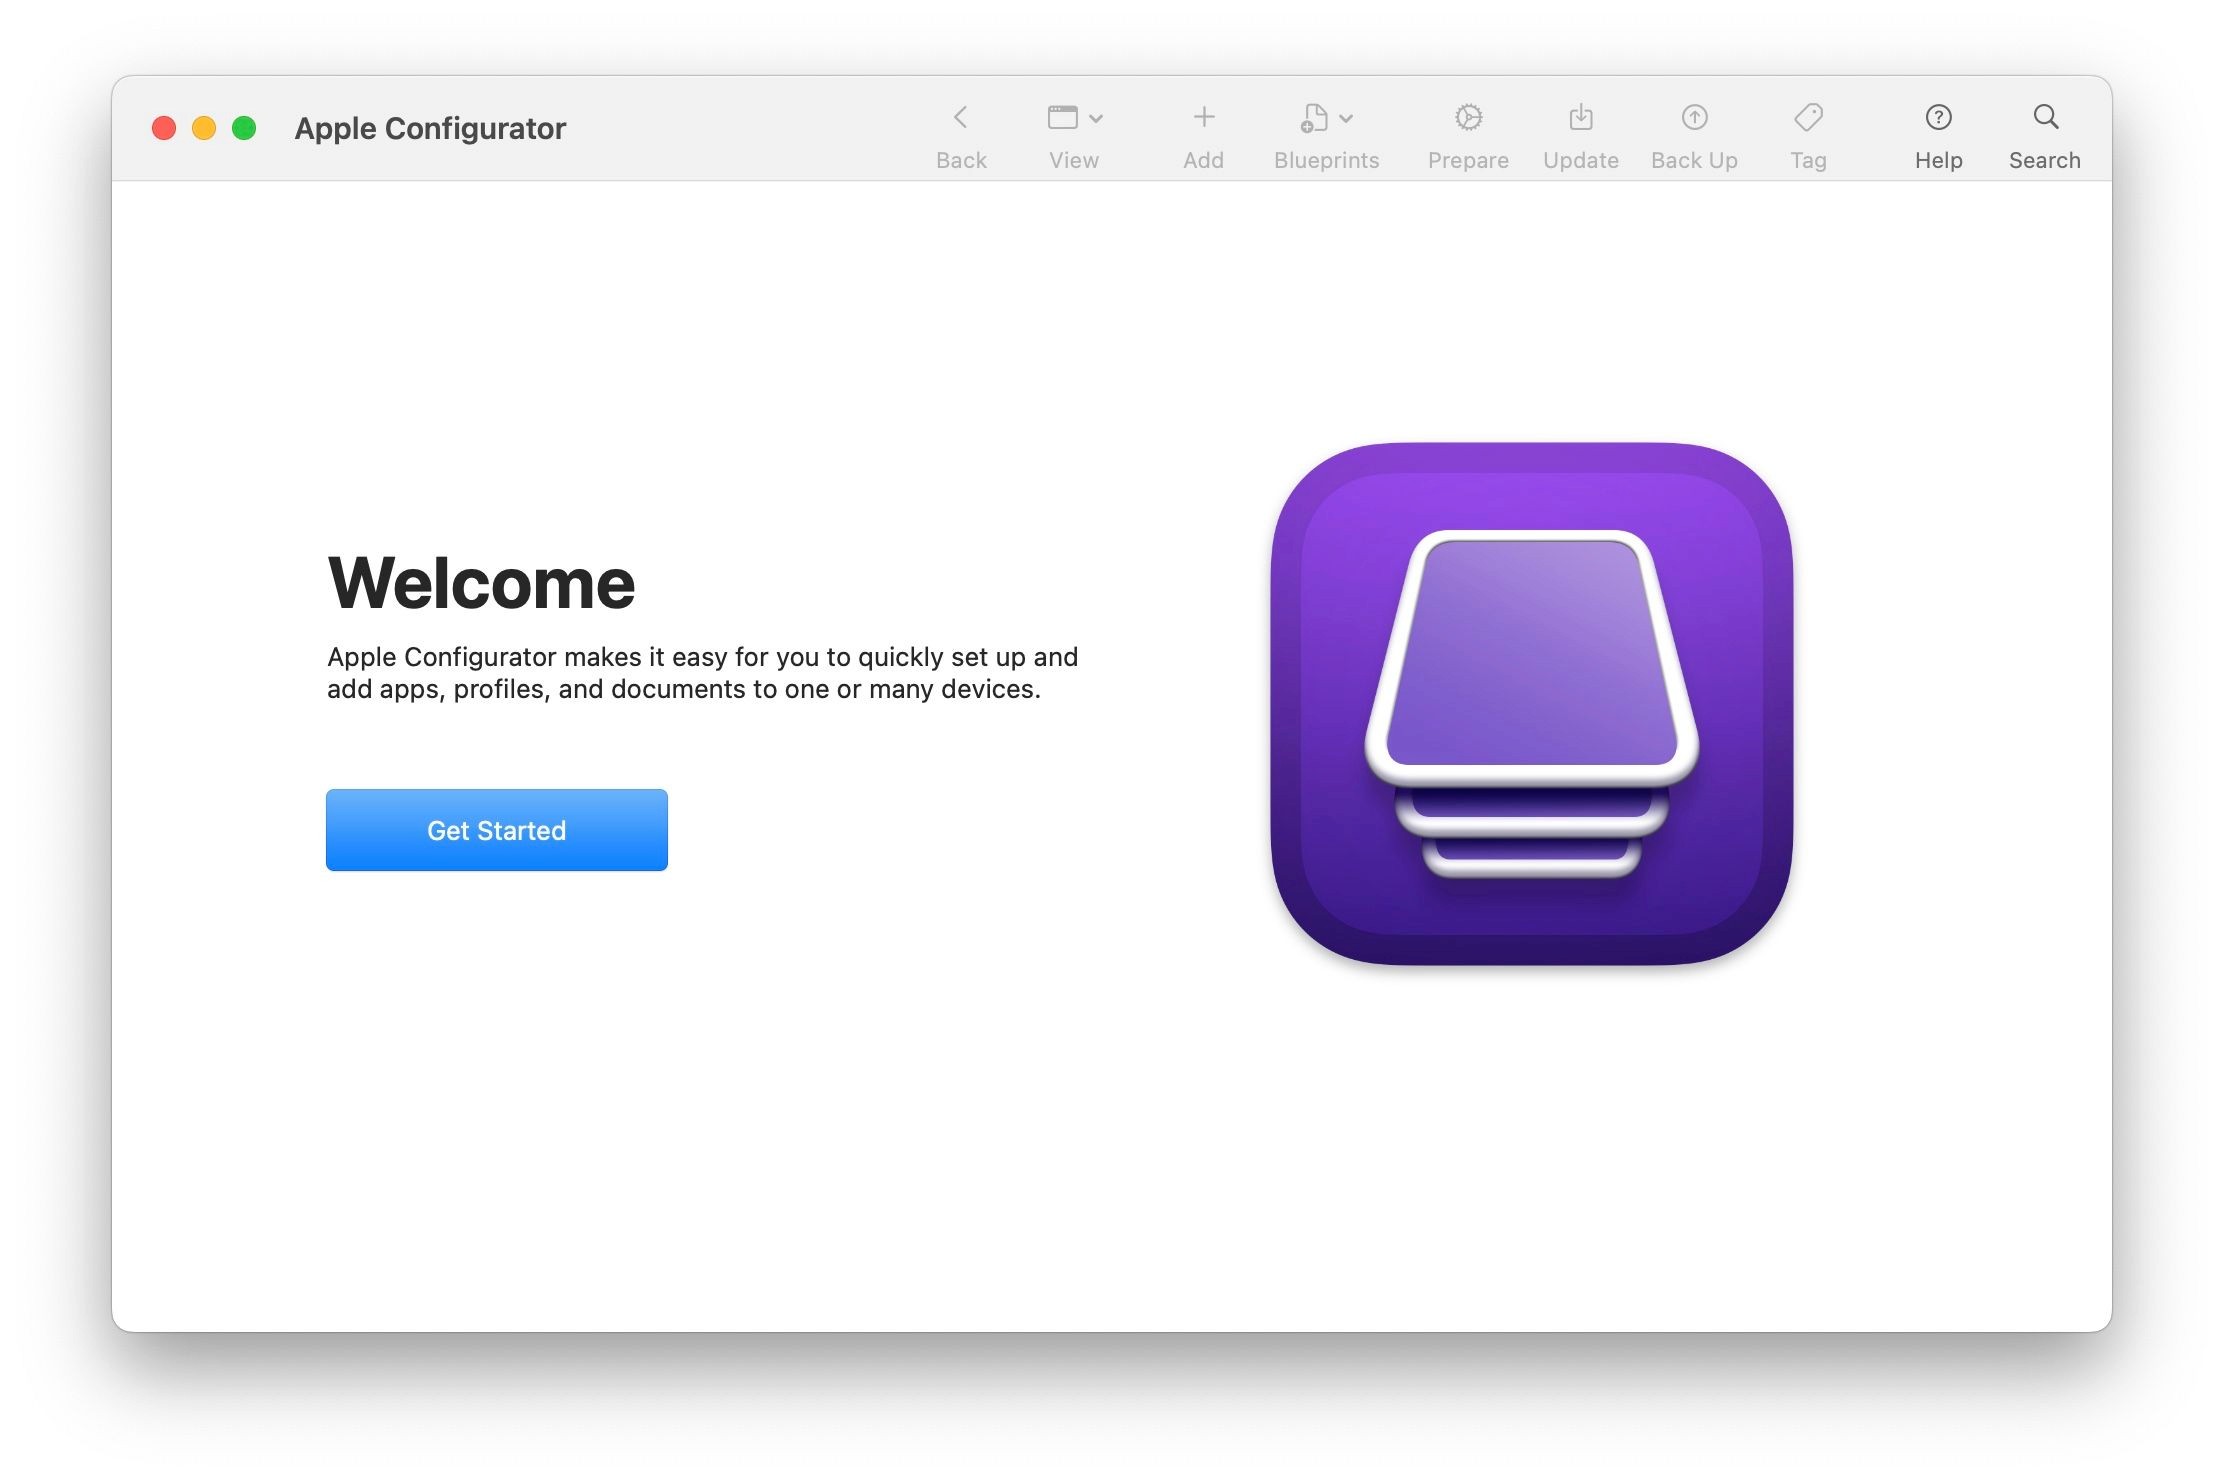
Now head on over to the Apple and install Apple Configurator. Open the app and click ‘Get Started’.
3. ‘Prepare’ your iPhone
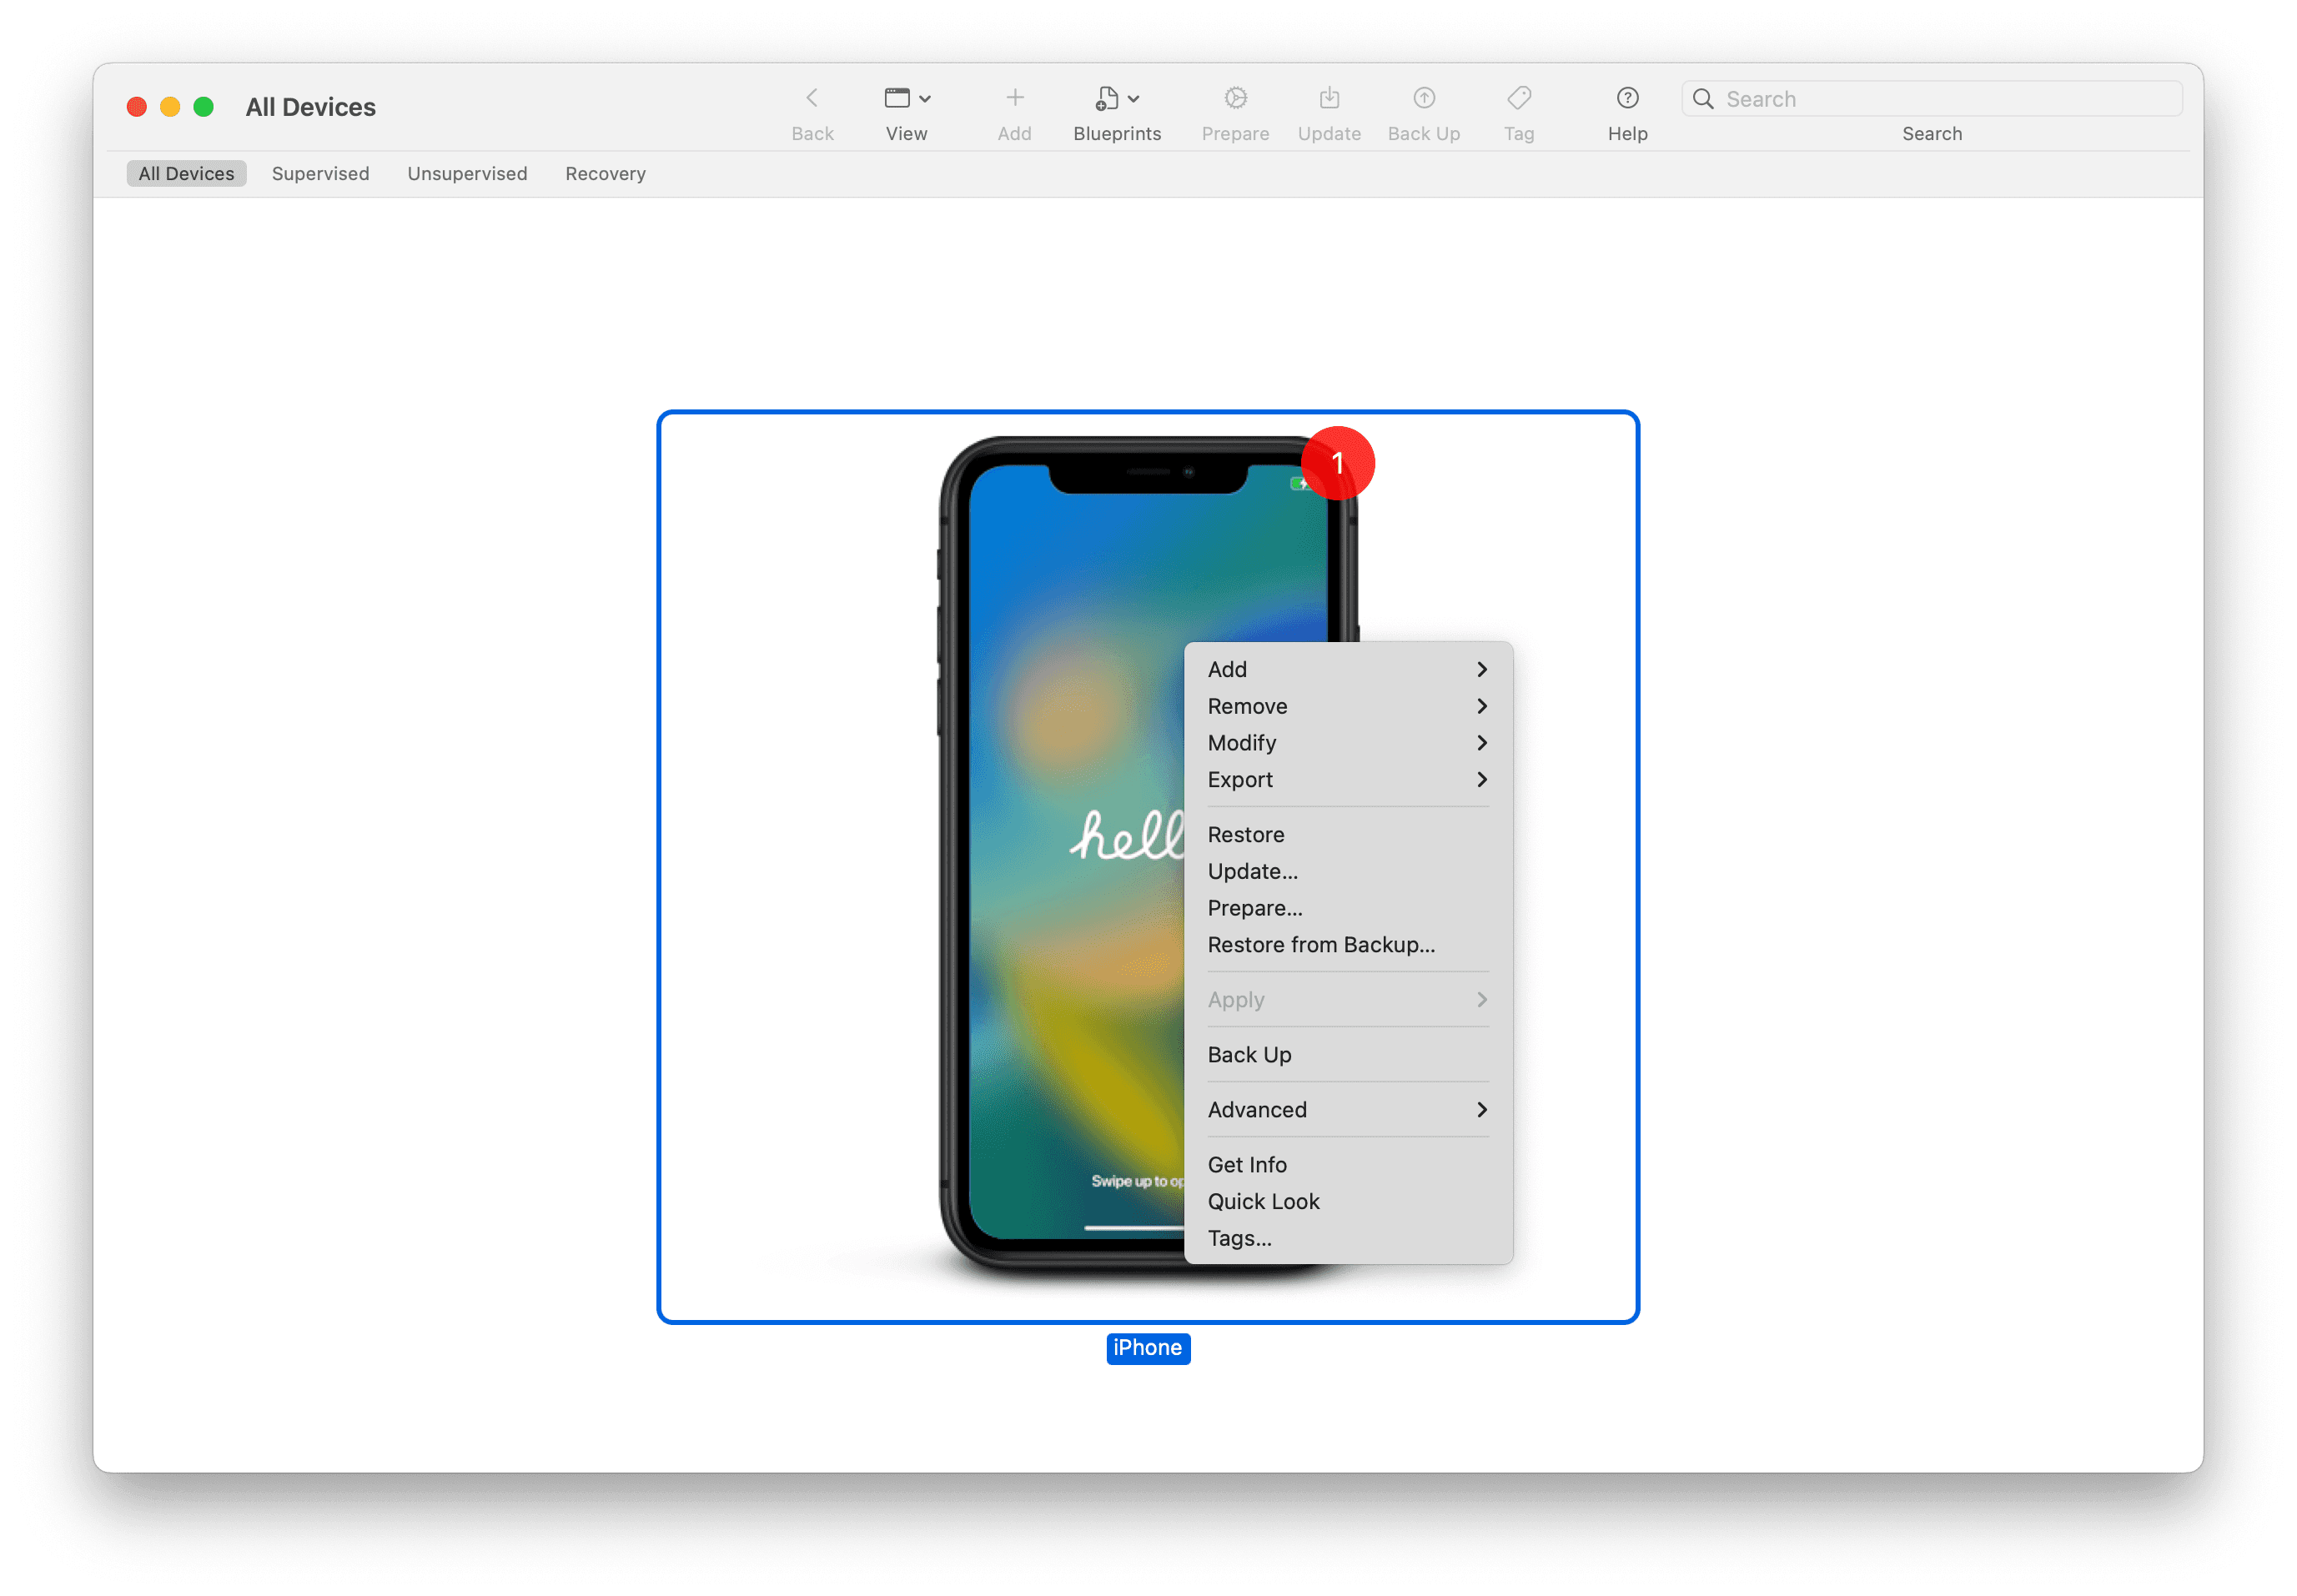
Connect your iPhone to your laptop. You should see it show up in Configurator. Once you do, Right click and click “Prepare”:
Select “Manual Configuration”, with “Supervise devices” like so:
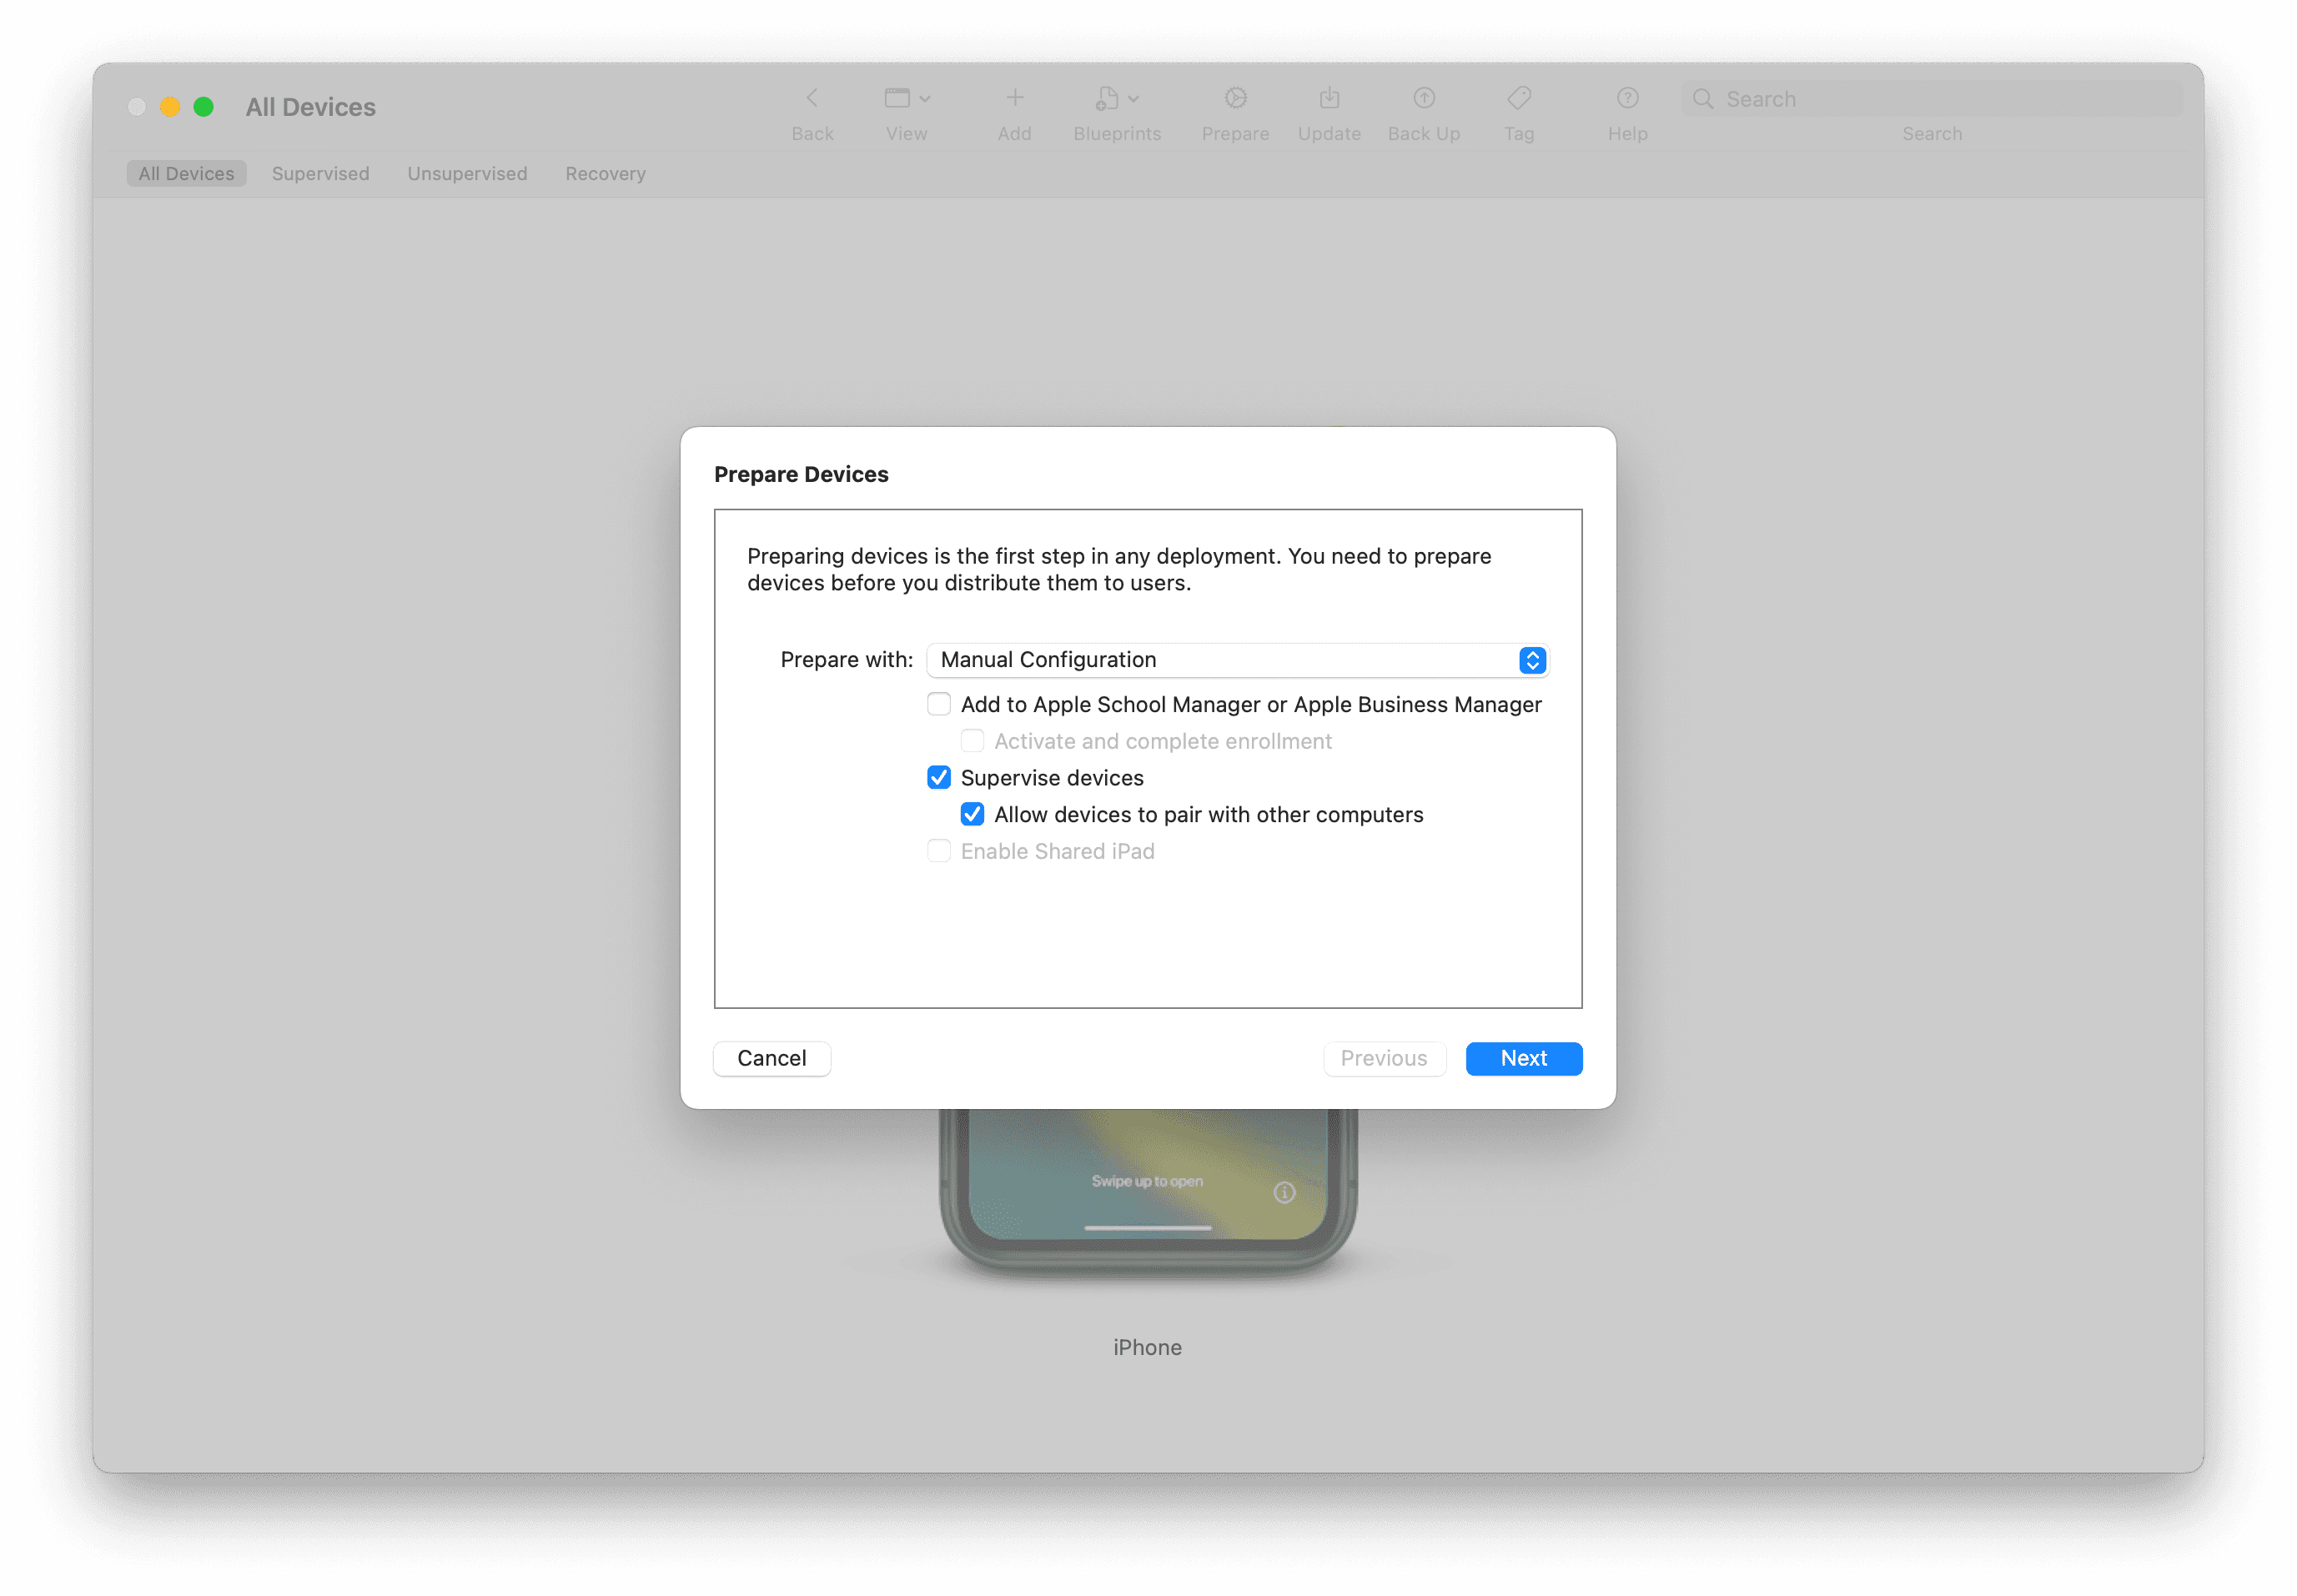
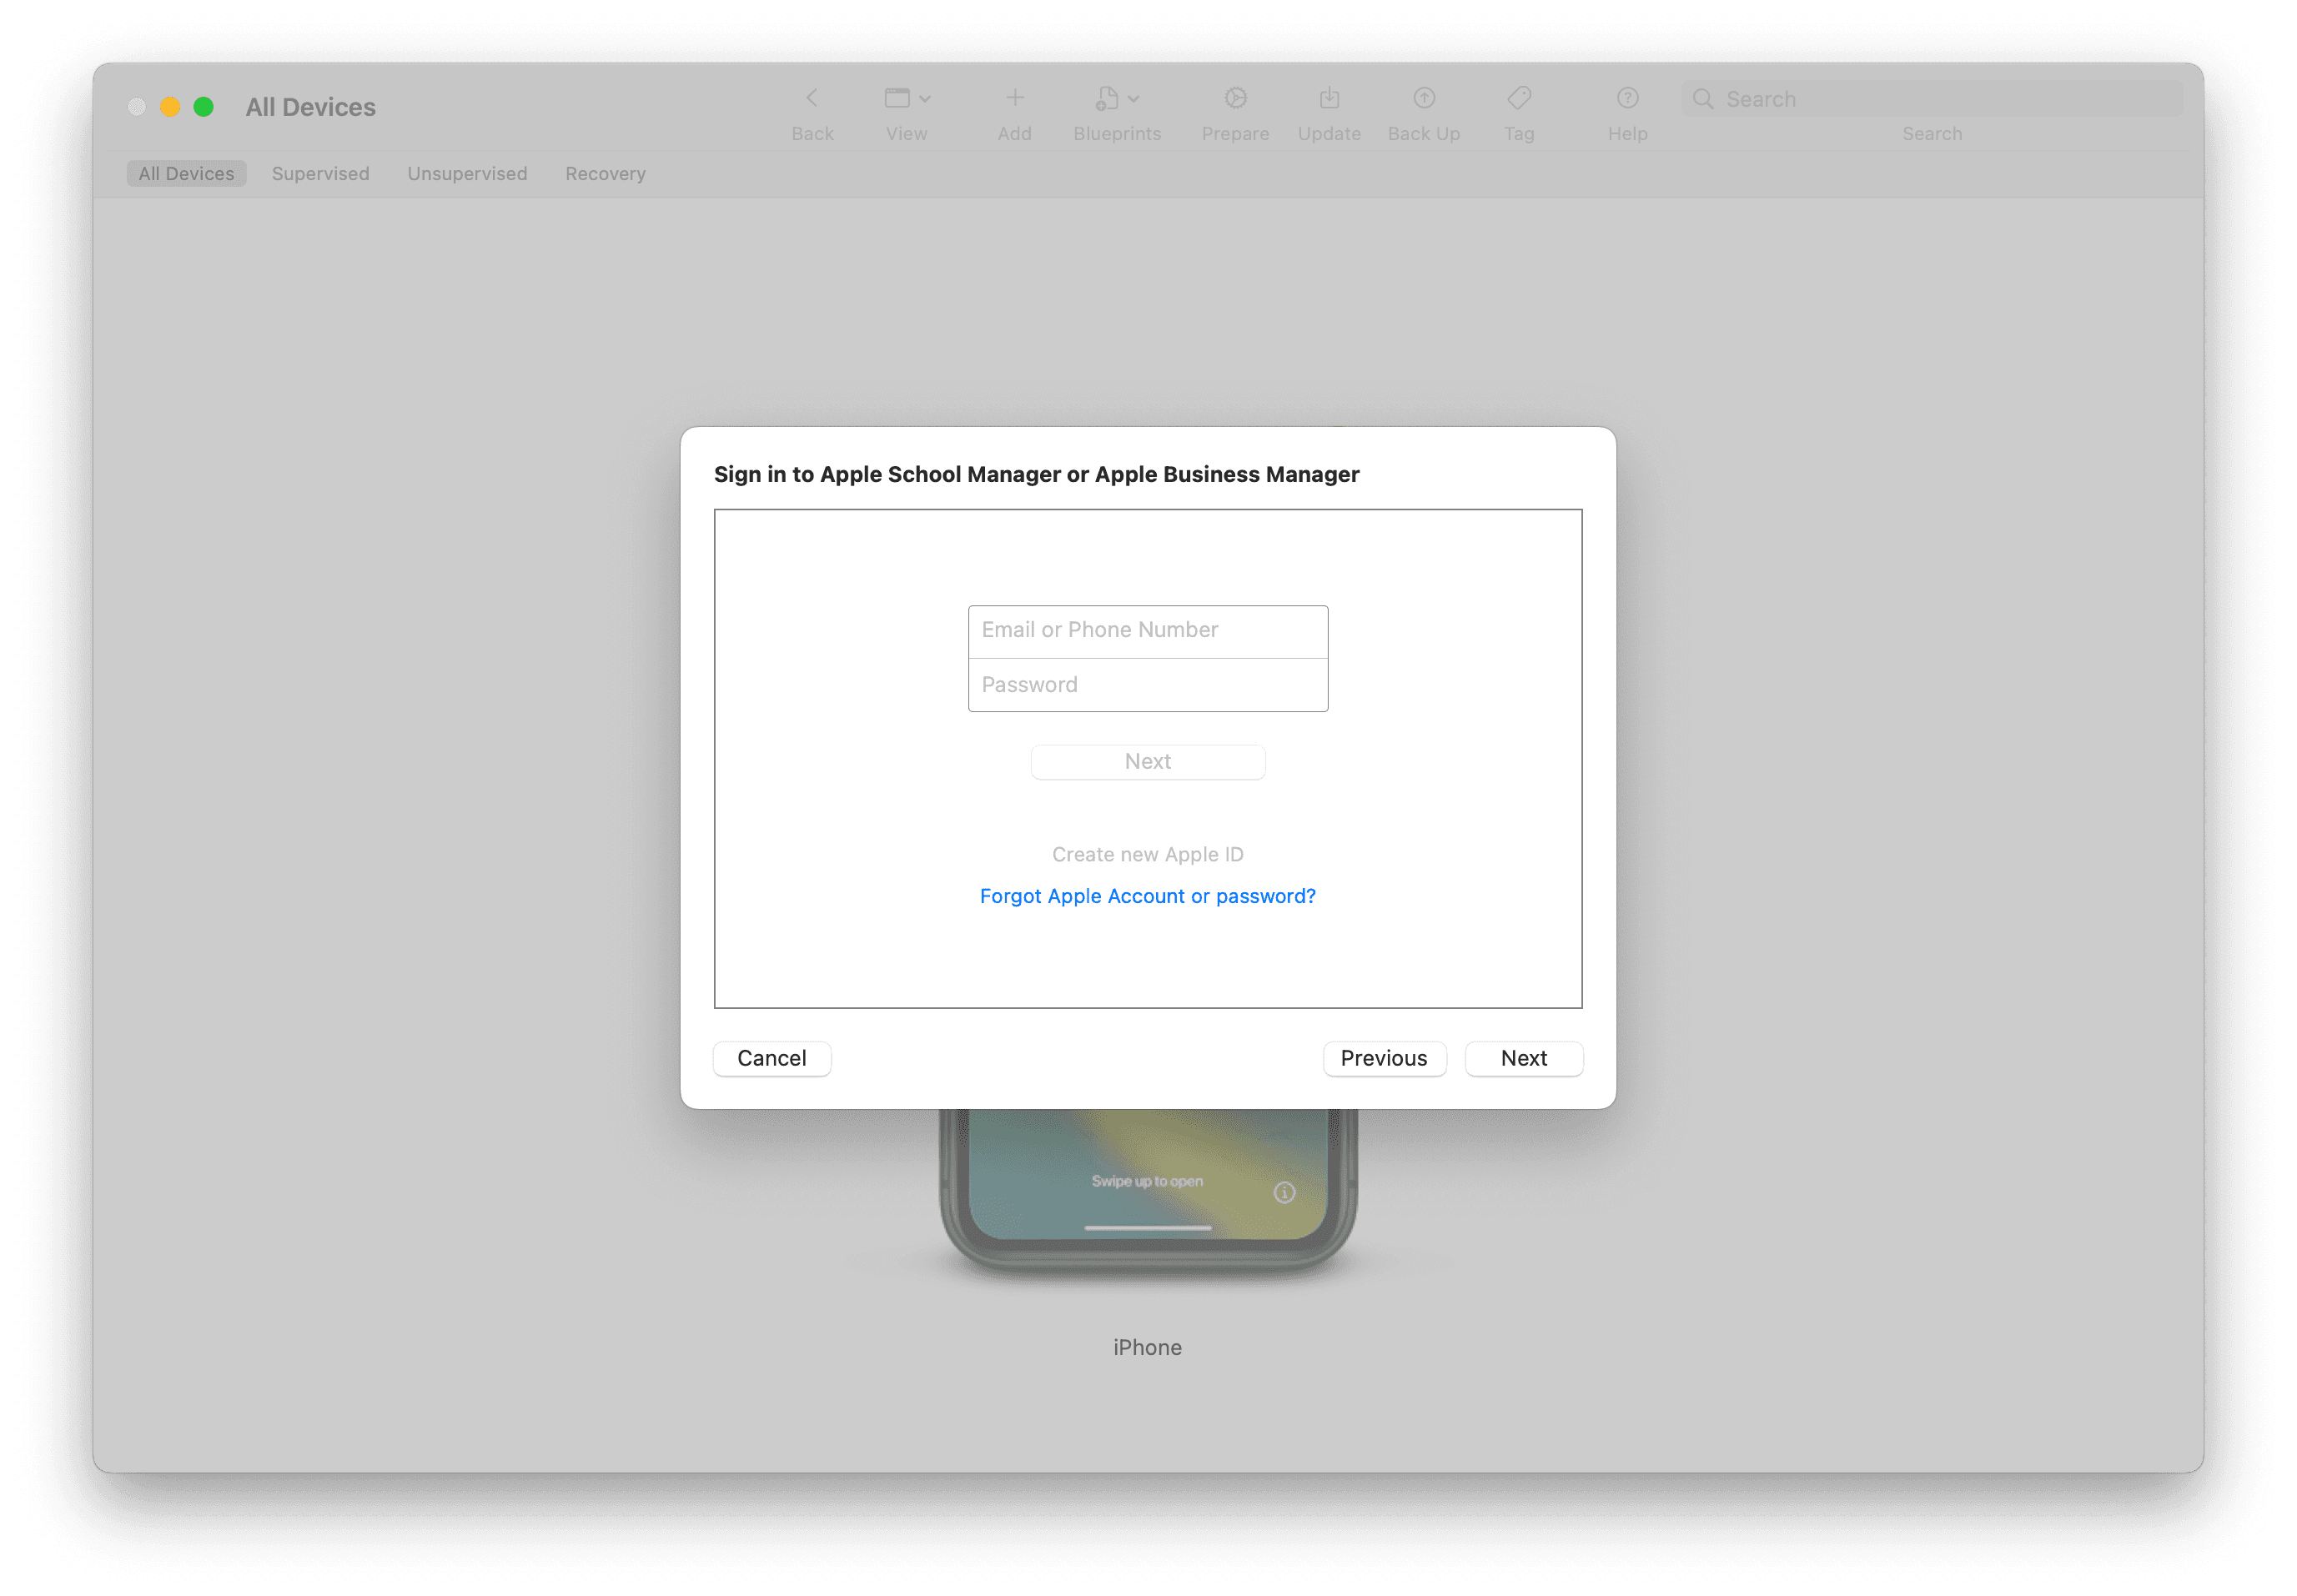
You can skip “Sign in to Apple School Manager or Apple Business Manager”. Just press Next.
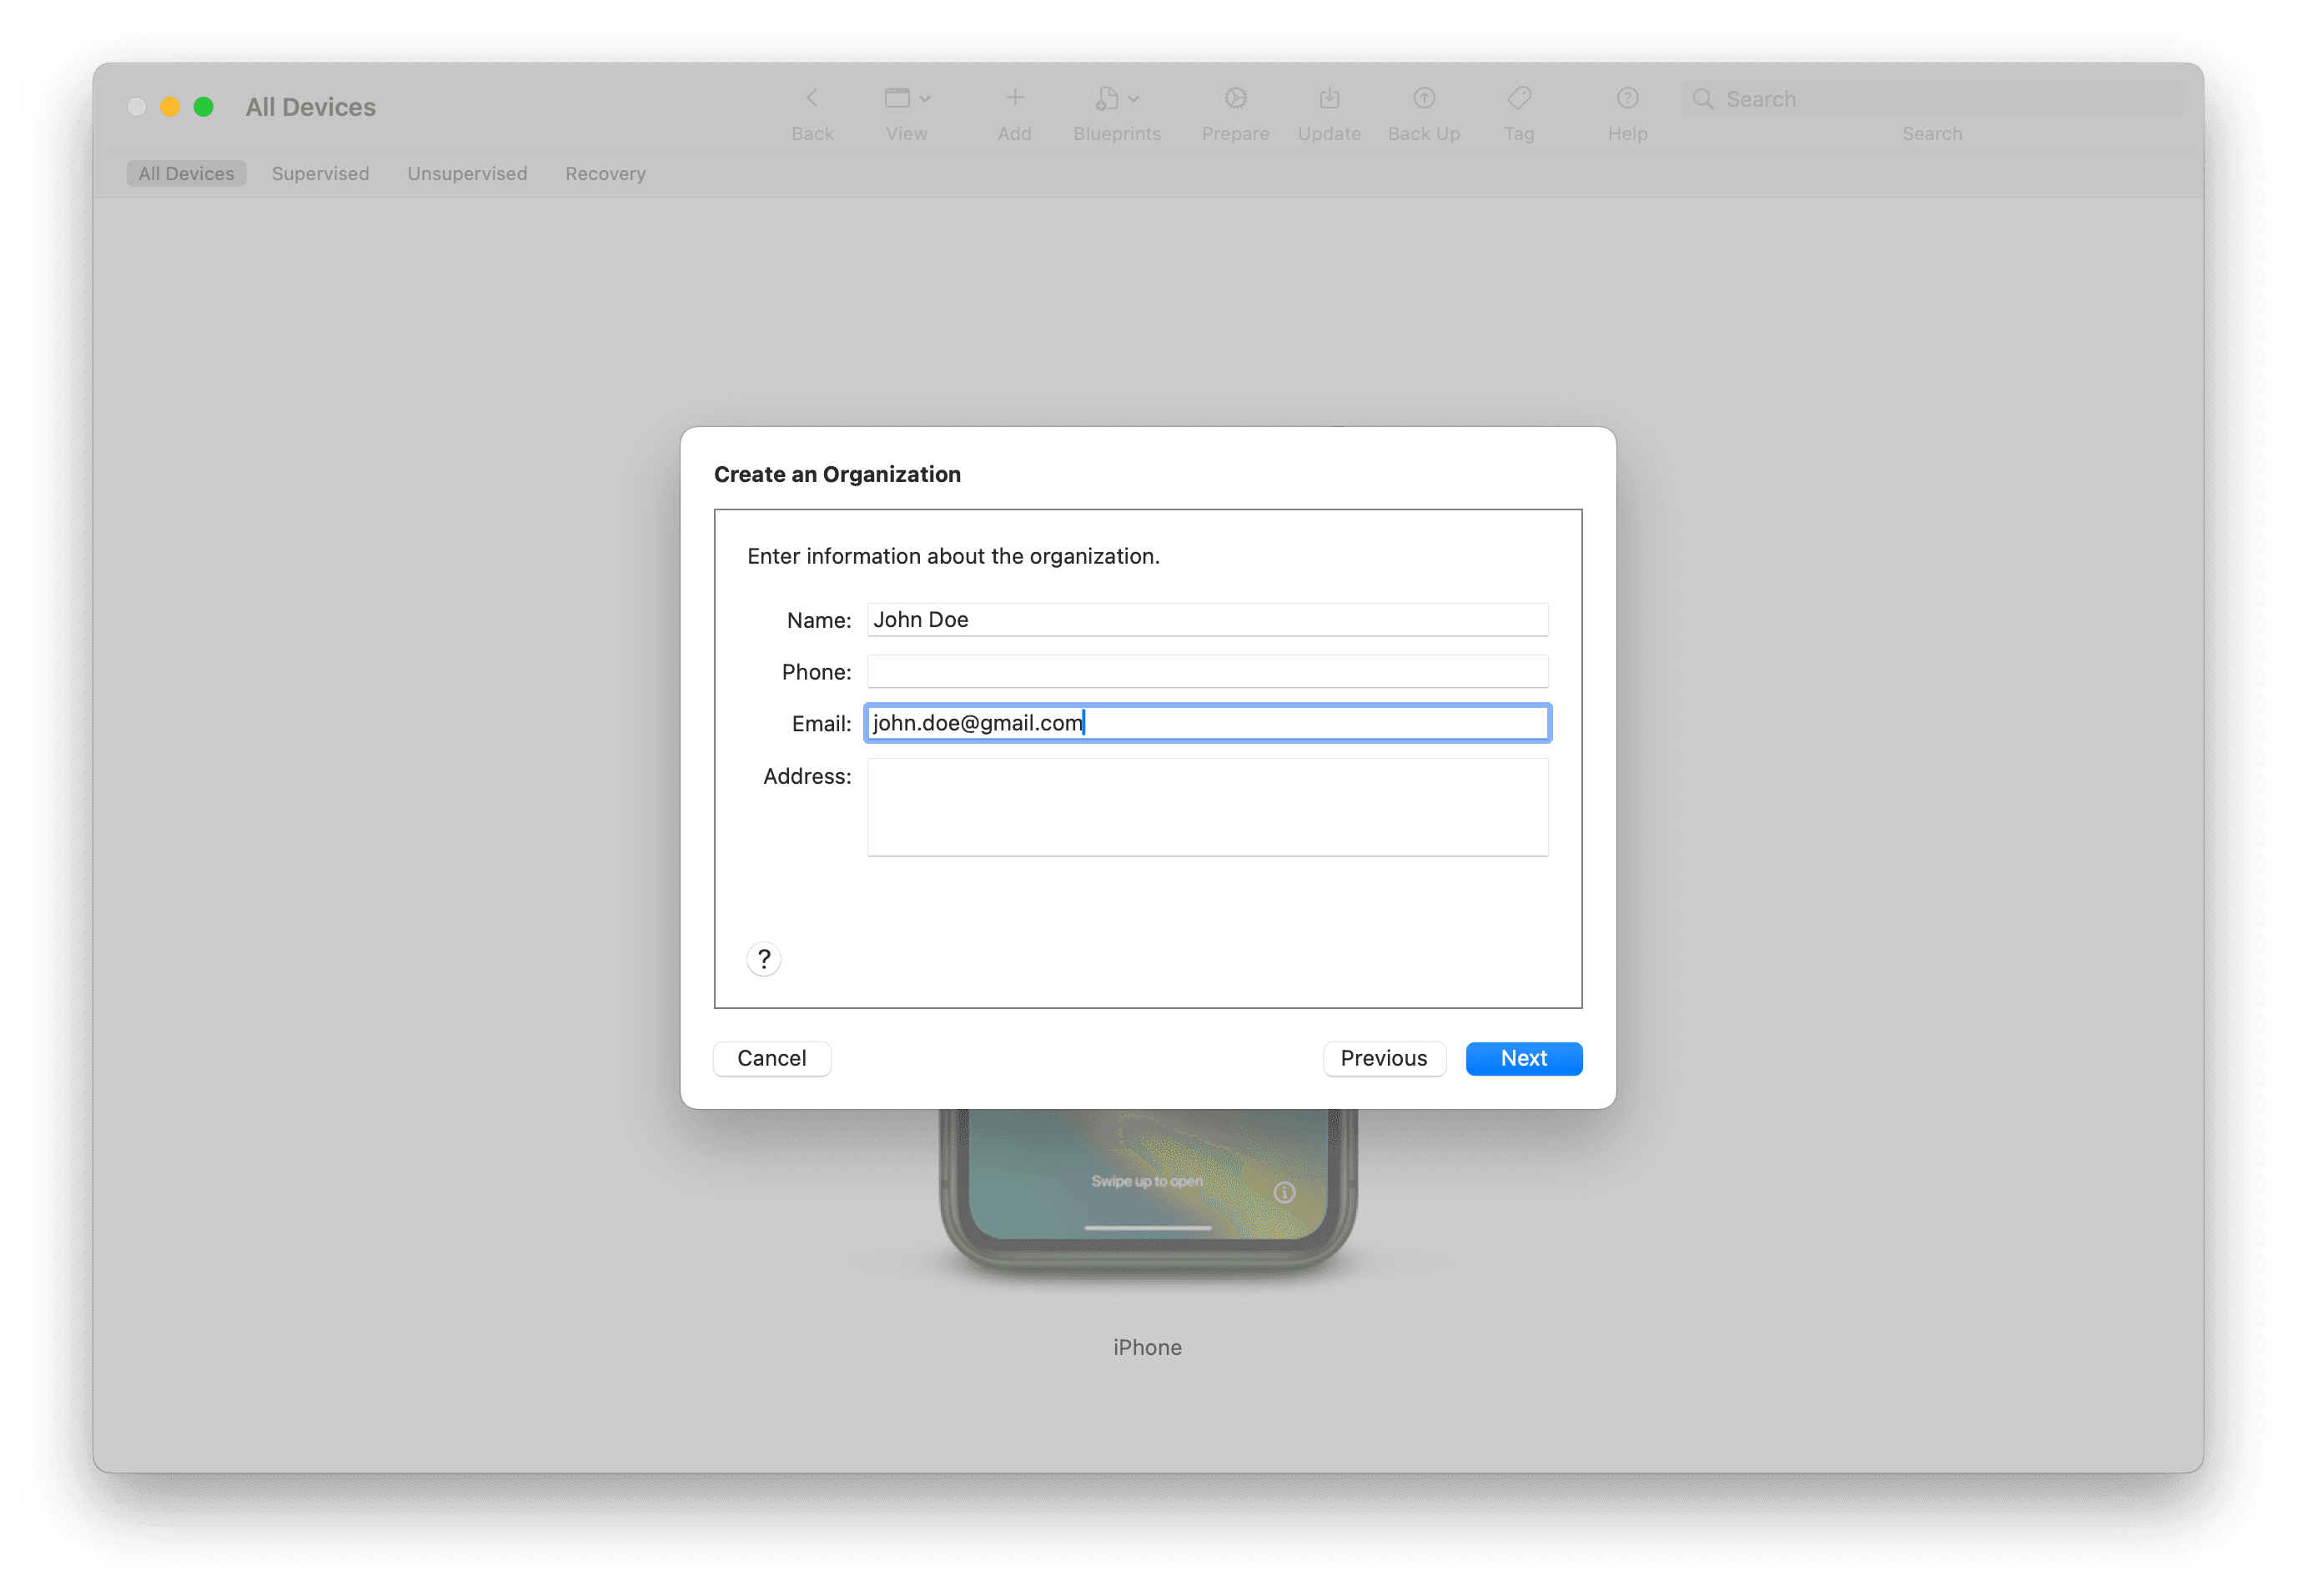
Now create an “Organization”. Since this is just for you and your family, you can simply use your name and email address.
In “Configure iOS Setup Assistant”, select “Don’t show any of these steps”
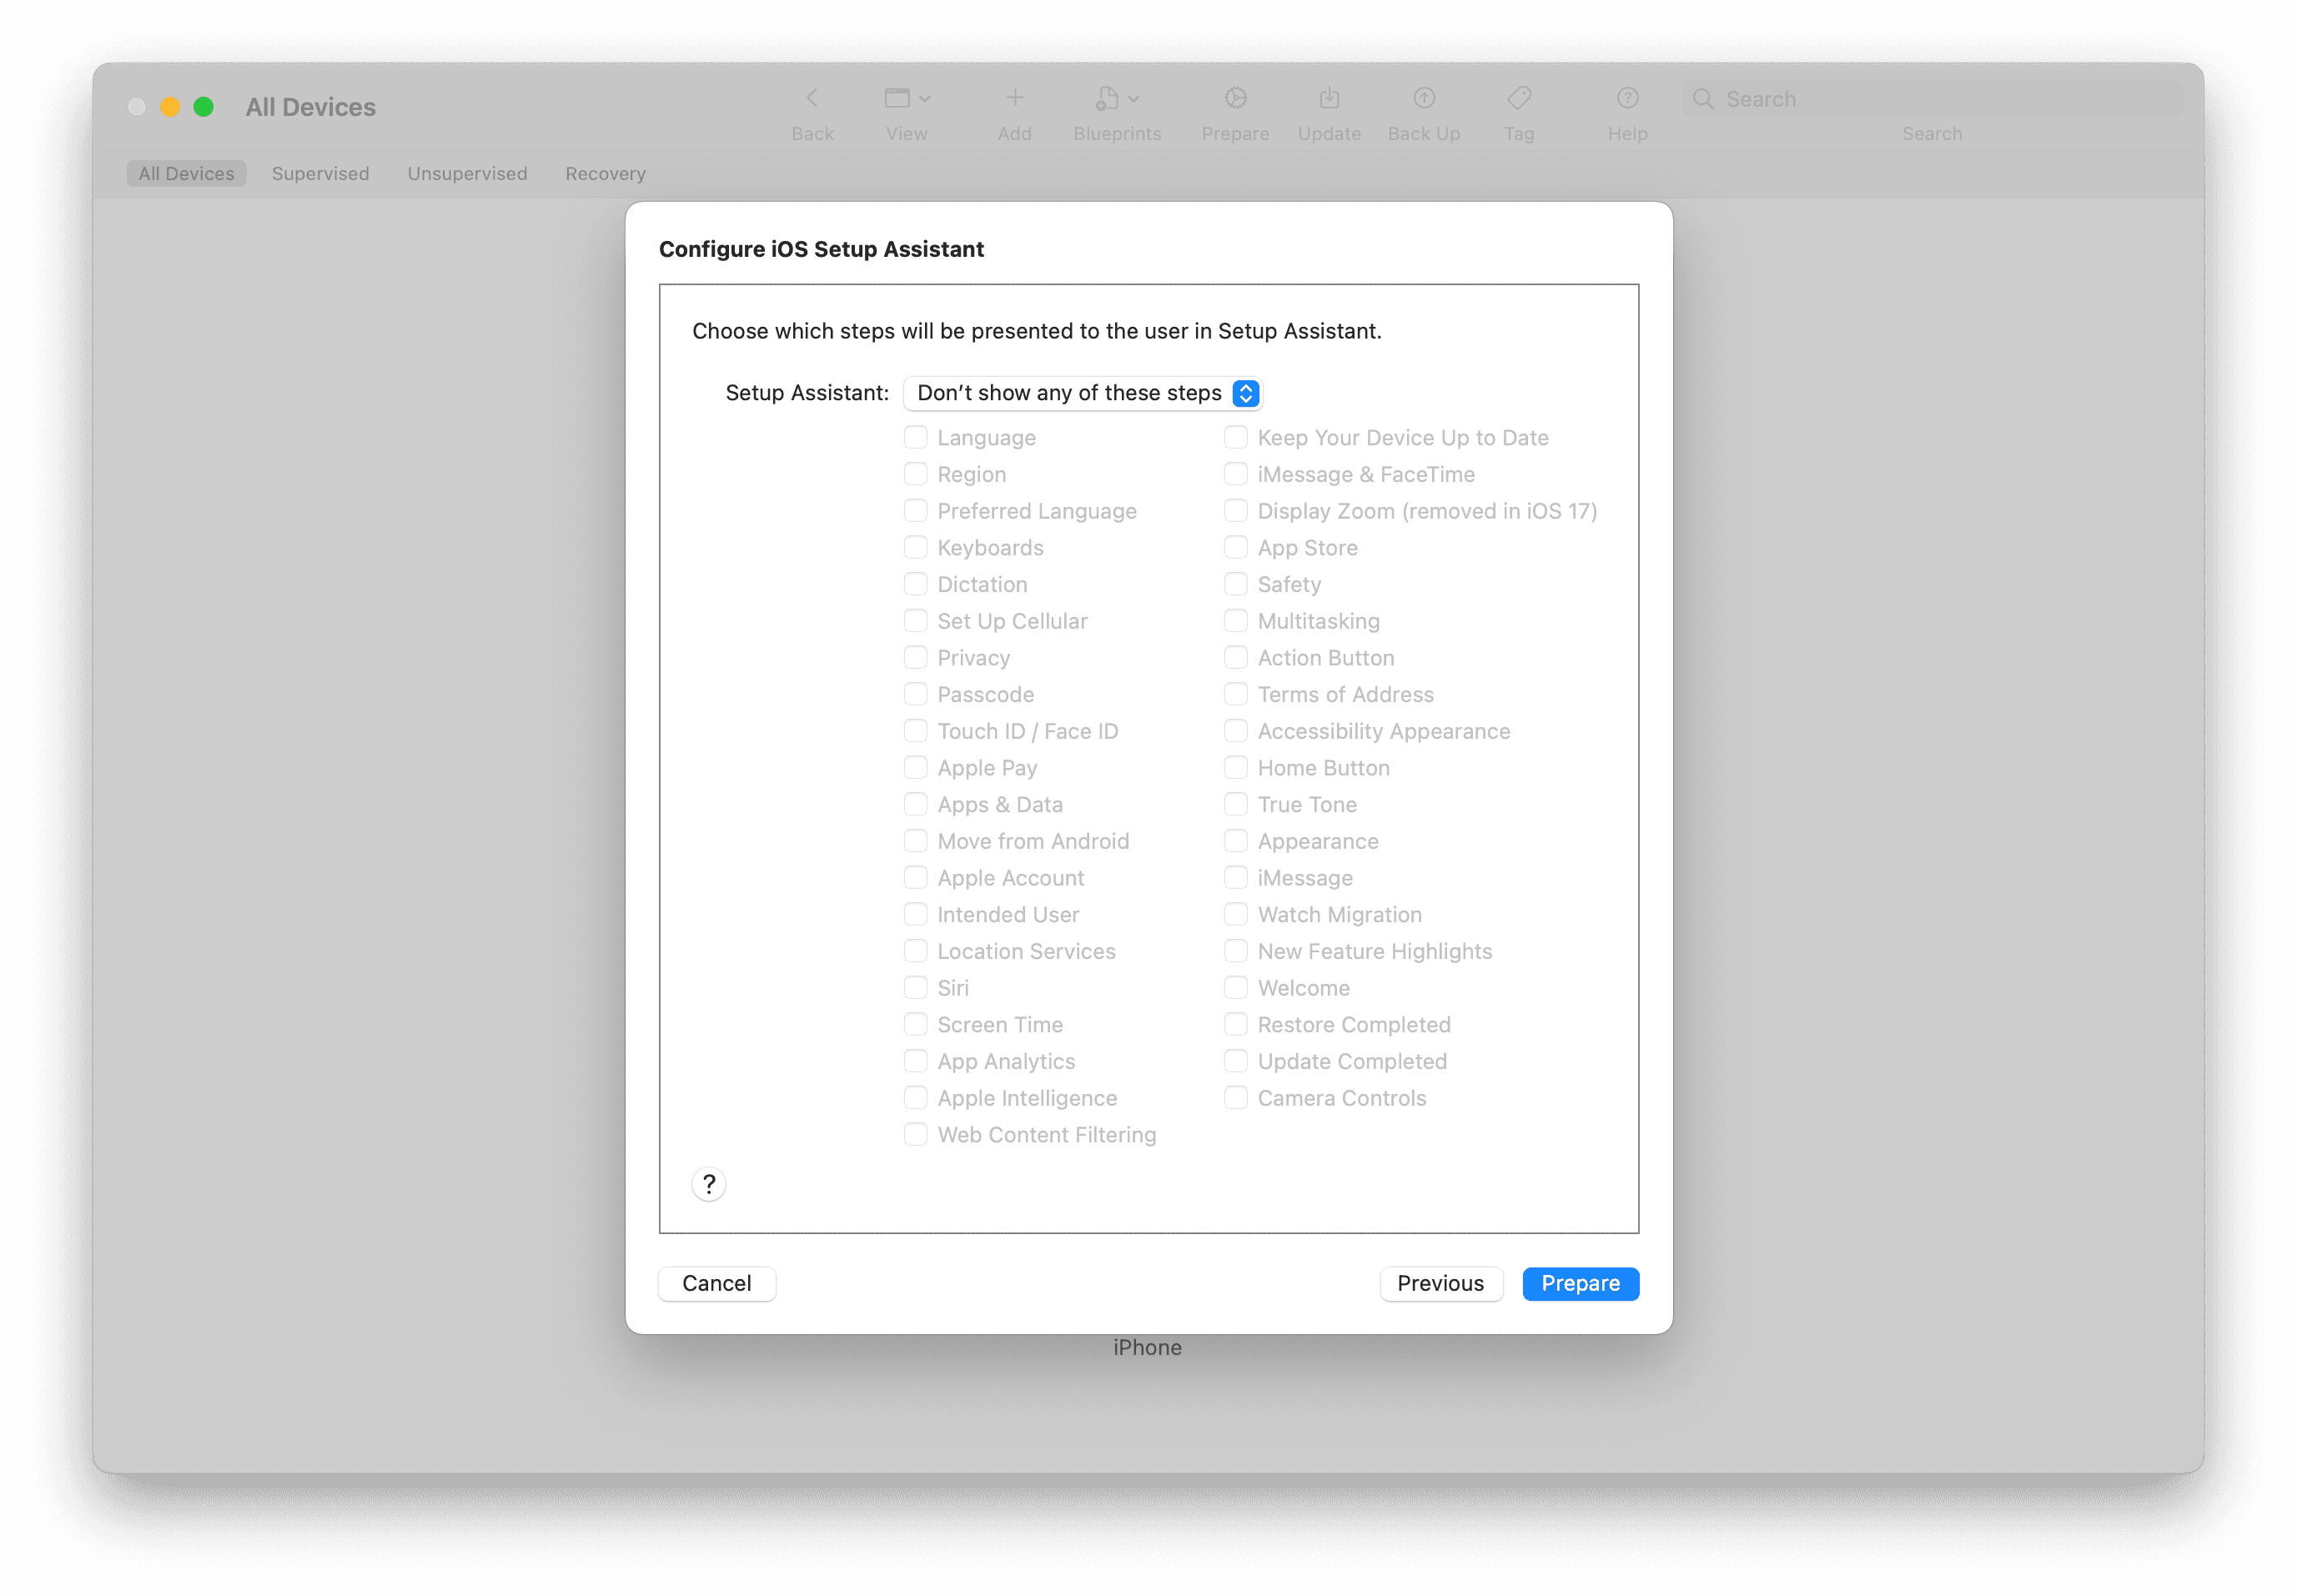
Click “Prepare”.

Aand you’re ready to go!
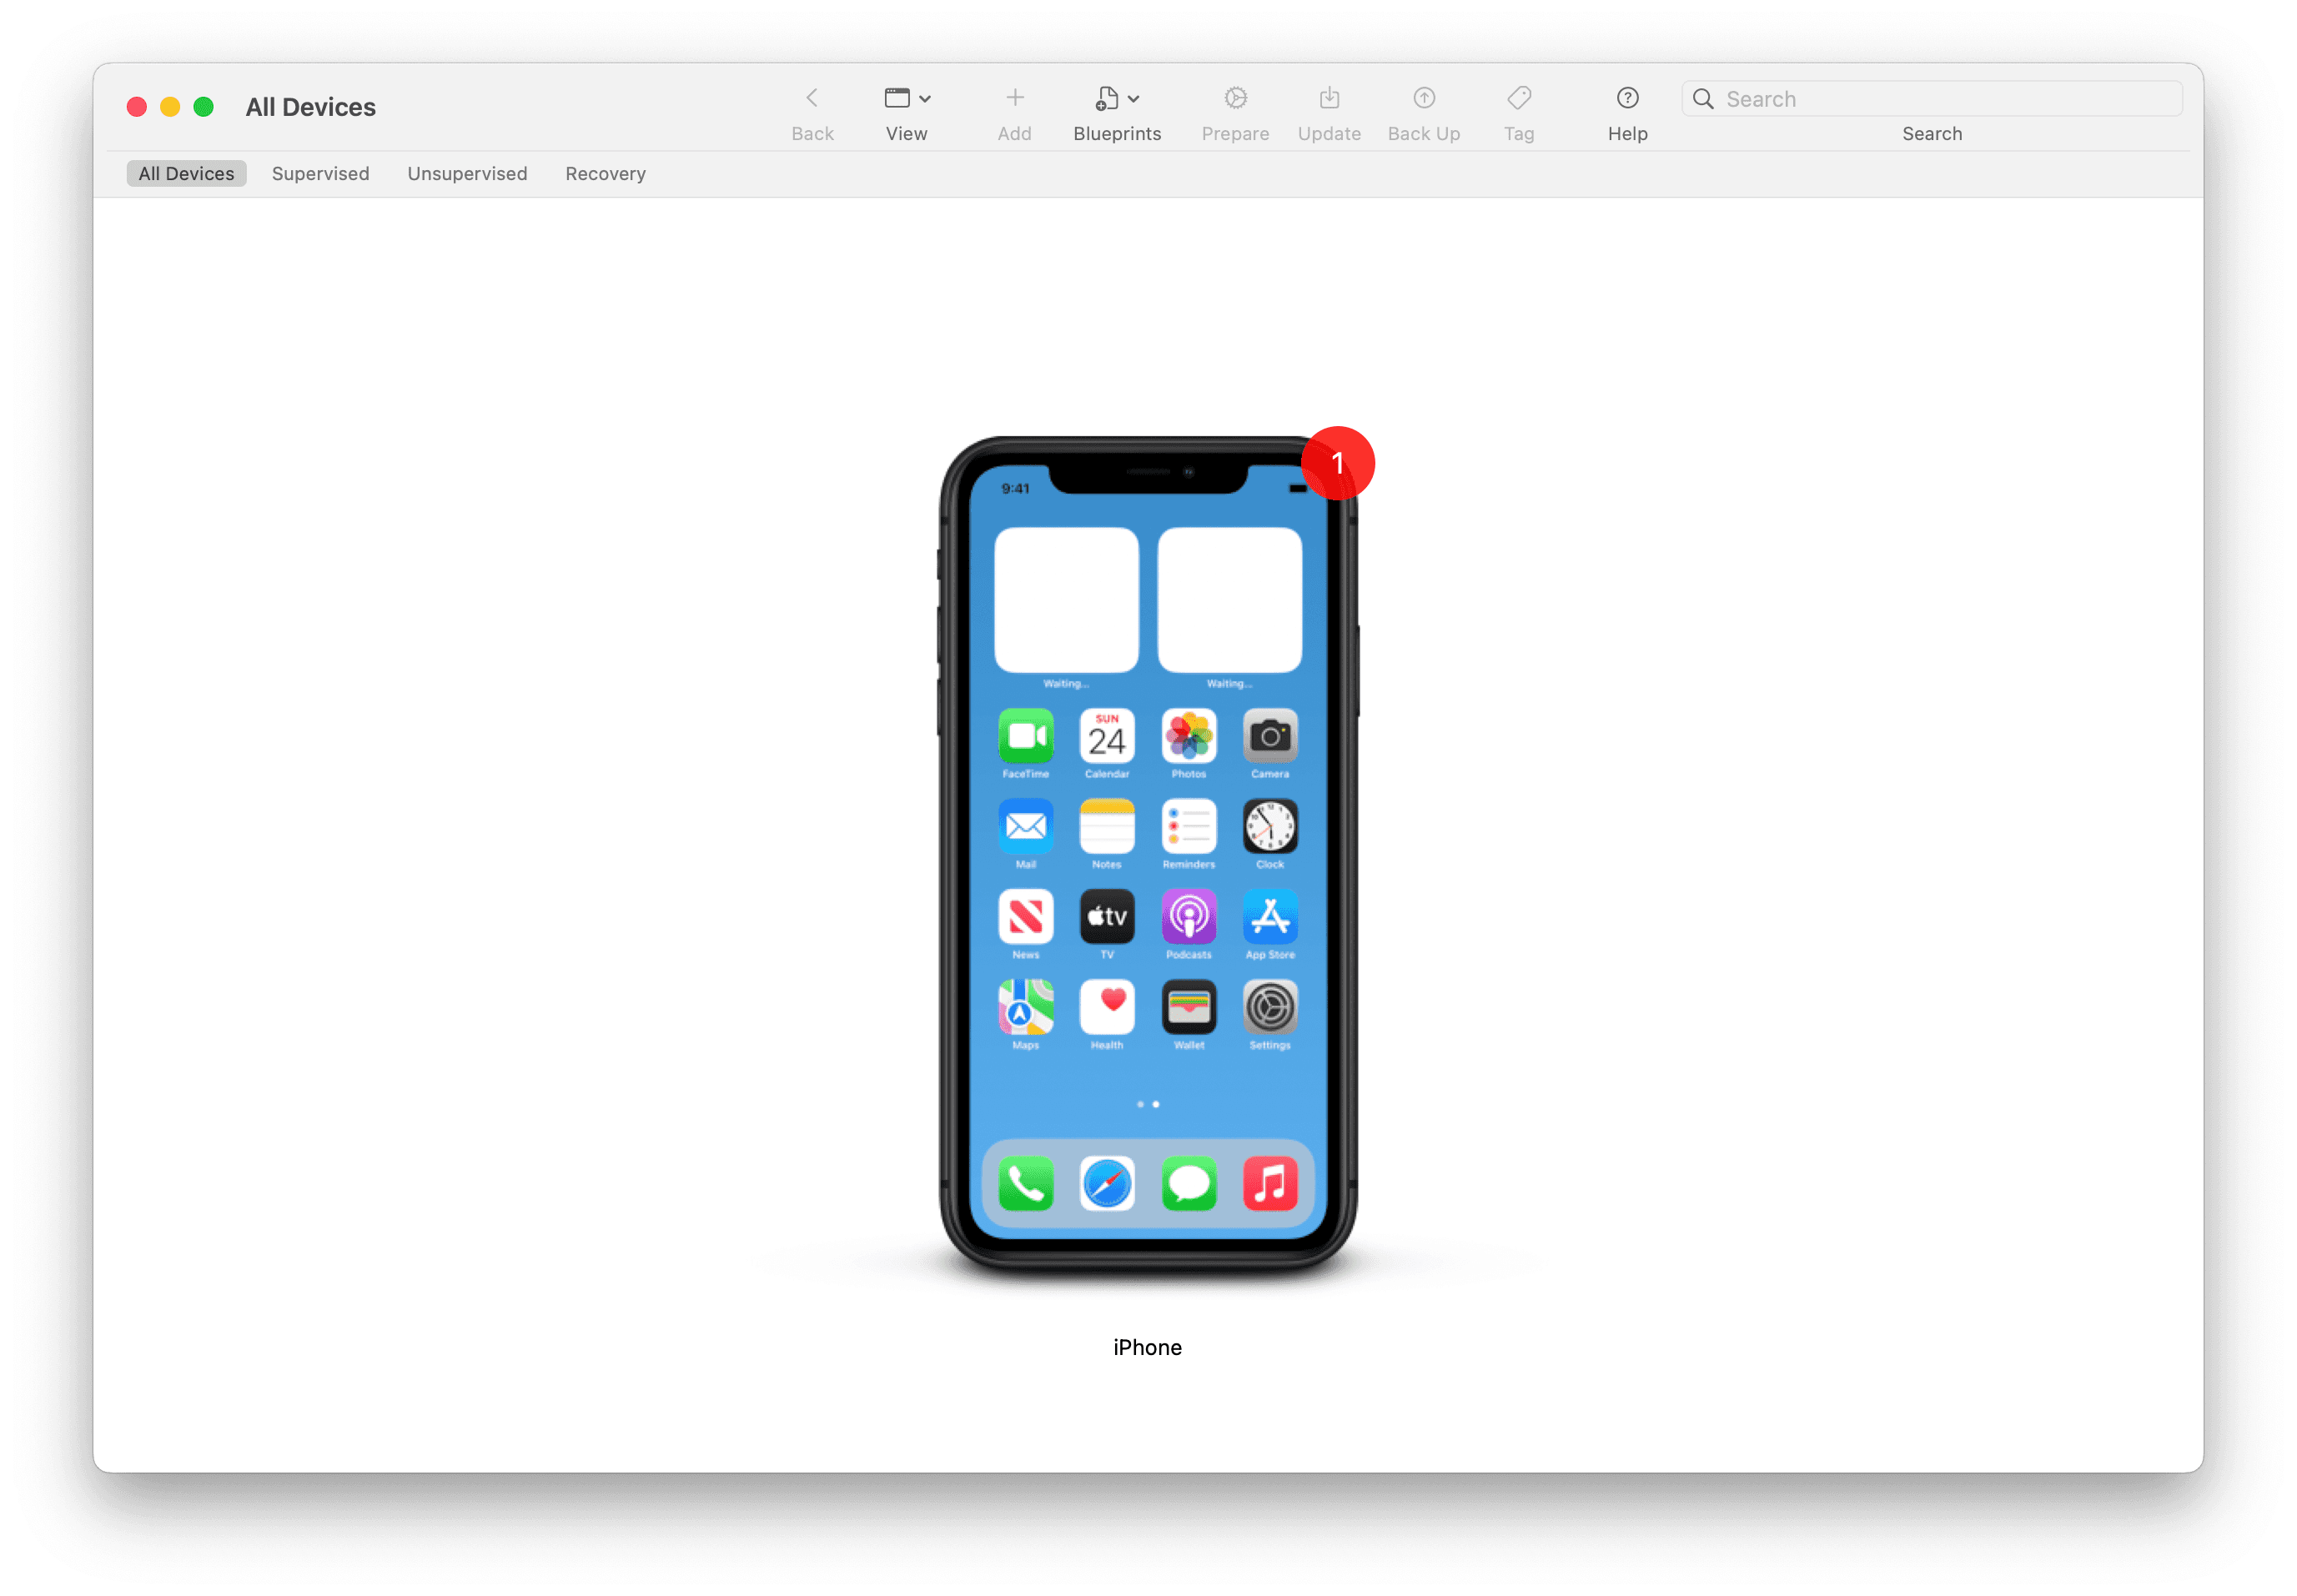
Your phone is now ready for Configurator.
4. Set up your iPhone
Before we start adding restrictions, let’s set your phone up. Go through Apple’s setup, and make sure you do not restore your iPhone from an iCloud backup. This will undo the supervision stuff we just did.
Once you set things up, go ahead and install all the apps you think you need. As a way to jog your memory, here are a few apps you might consider:
5. Create your ‘Profile’
Now it’s time to set up your restrictions. You’ll create a new Configurator ‘Profile’.
Click ‘File’ → ‘New Profile’.
You’ll make three changes:
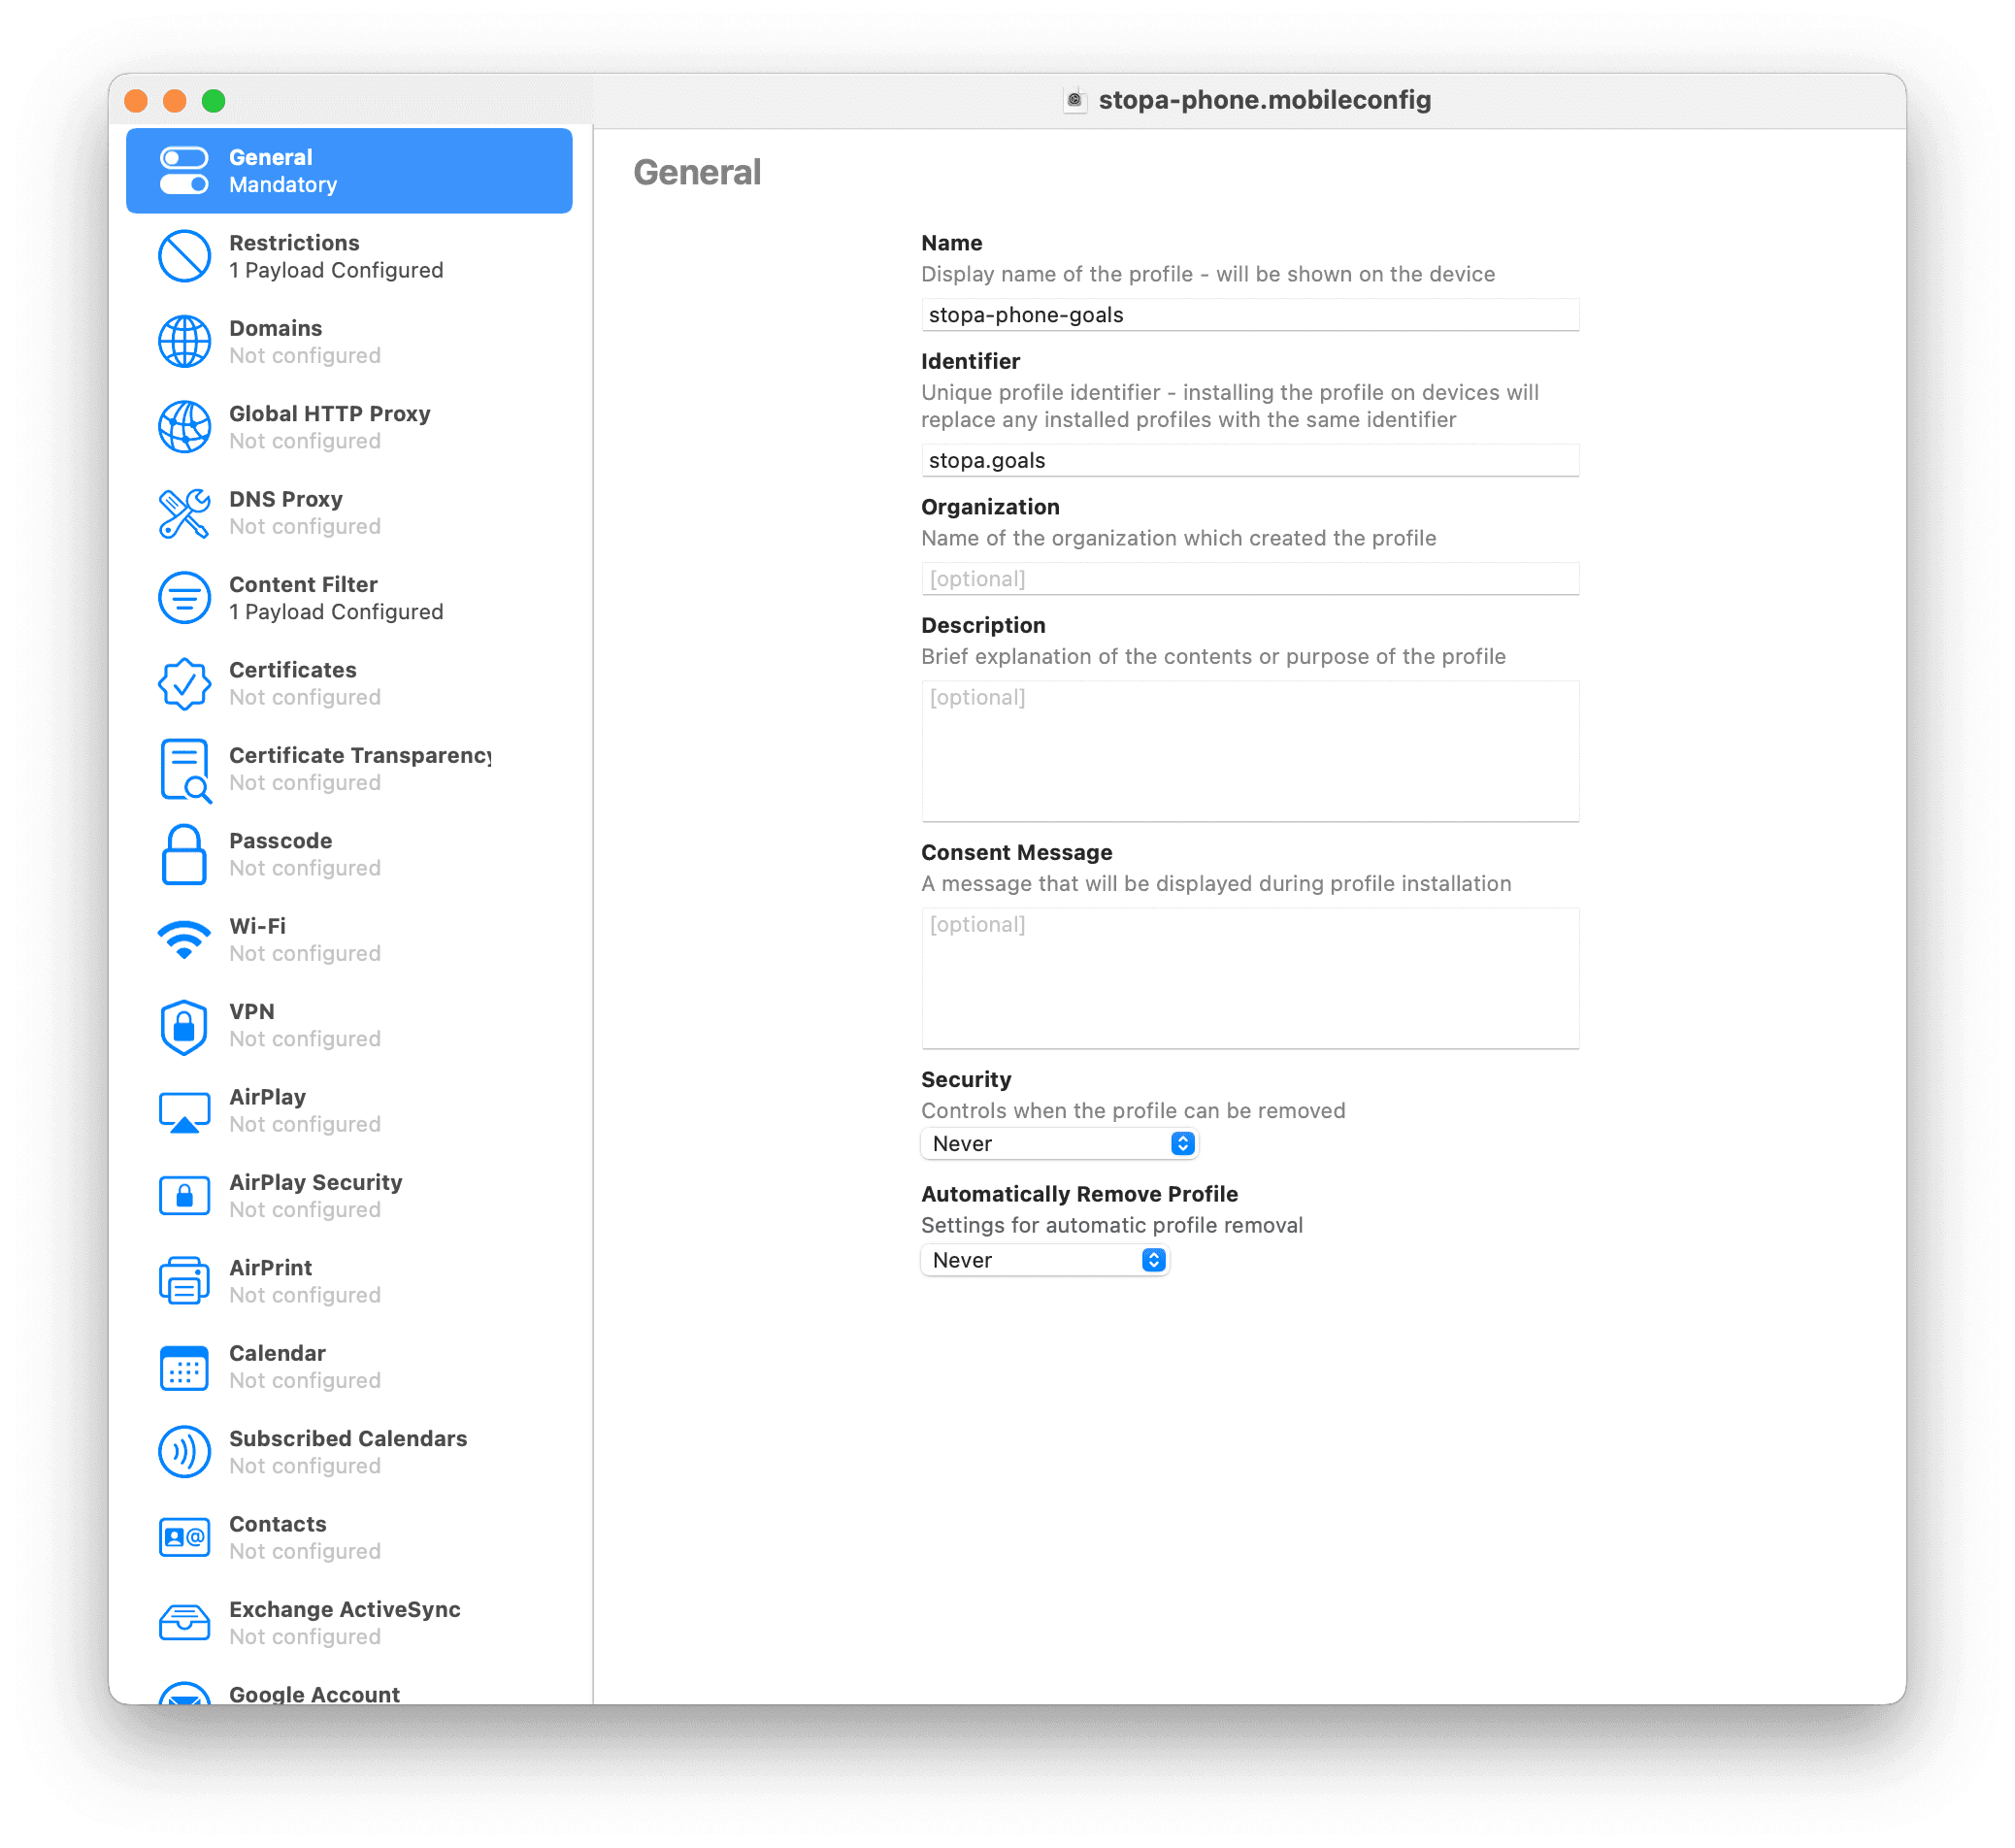
General
Under ‘General’: For ‘Security’ and ‘Automatically Remove Profile’, set ‘Never’:
Content Filter
Head on over to ‘Content Filter’, and click ‘Configure’. For ‘Filter Type’, select “Specific Websites only”:
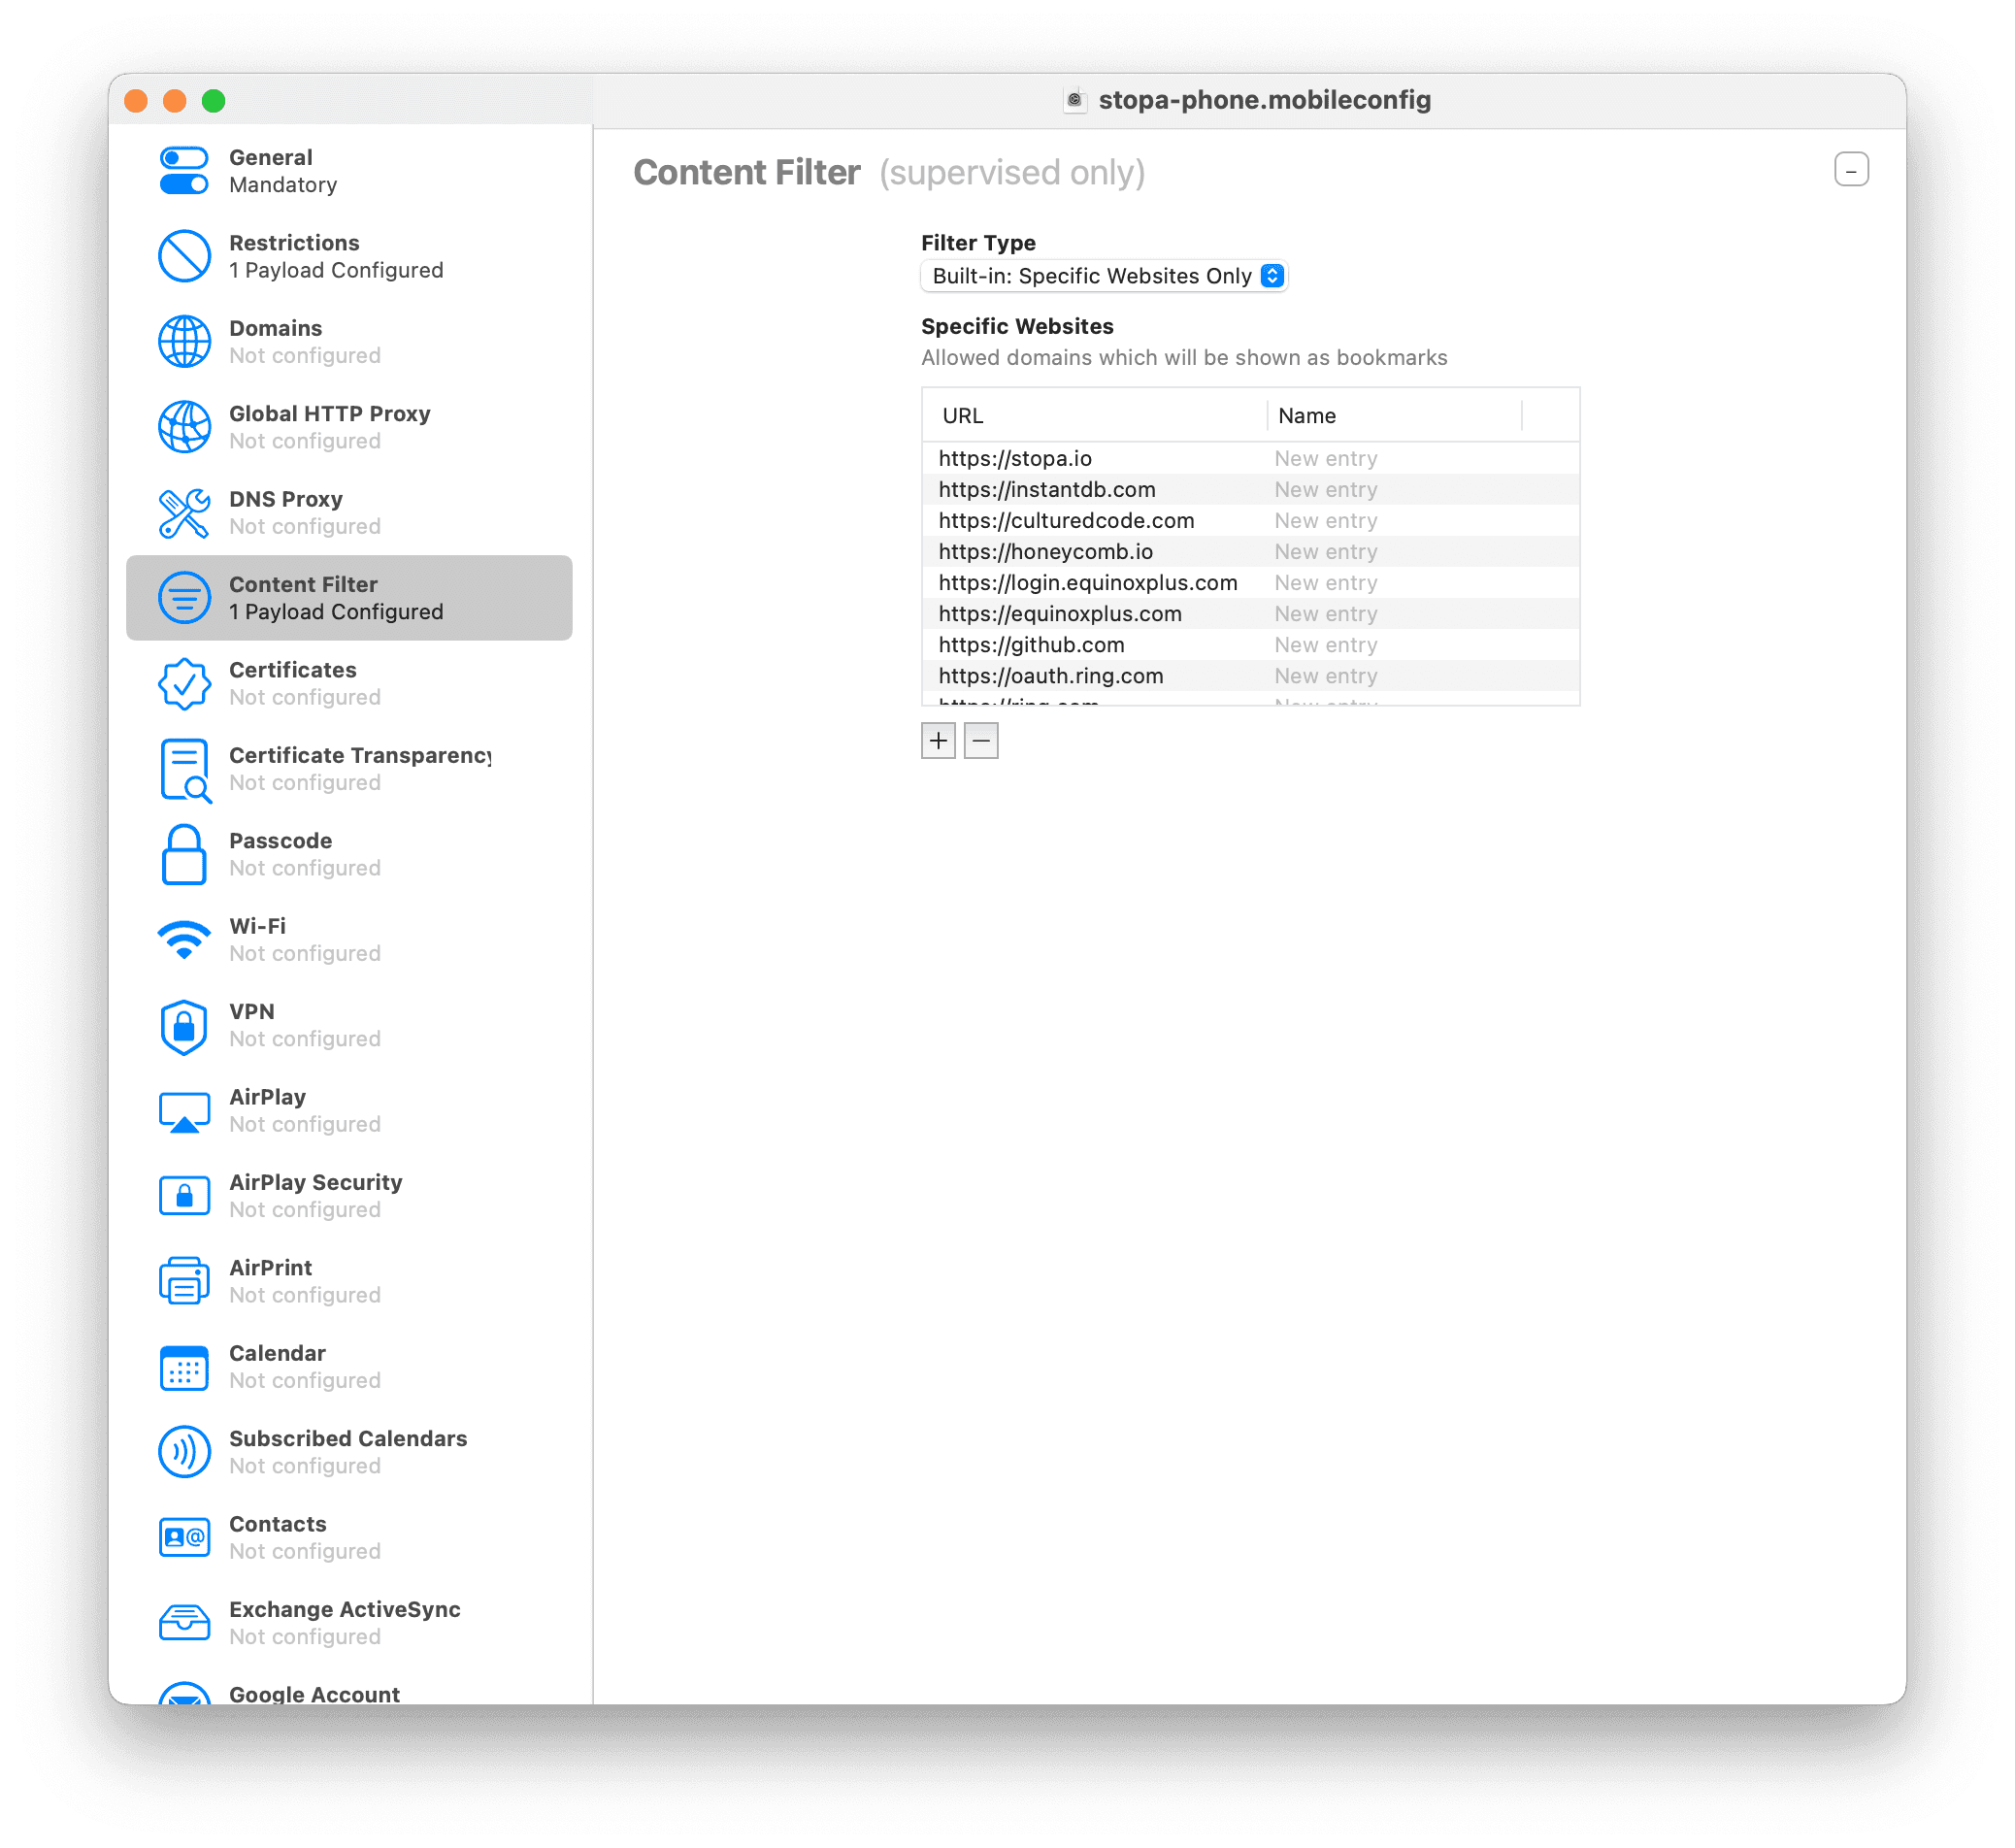
Enter some of the sites you want to use. I have allowed just google.com which allows my kids to look things up with Google. They're able to see the search result and more often than not can find the answers they are looking for (Formula 1 results, football scores etc) but clicking on any results takes them nowhere.
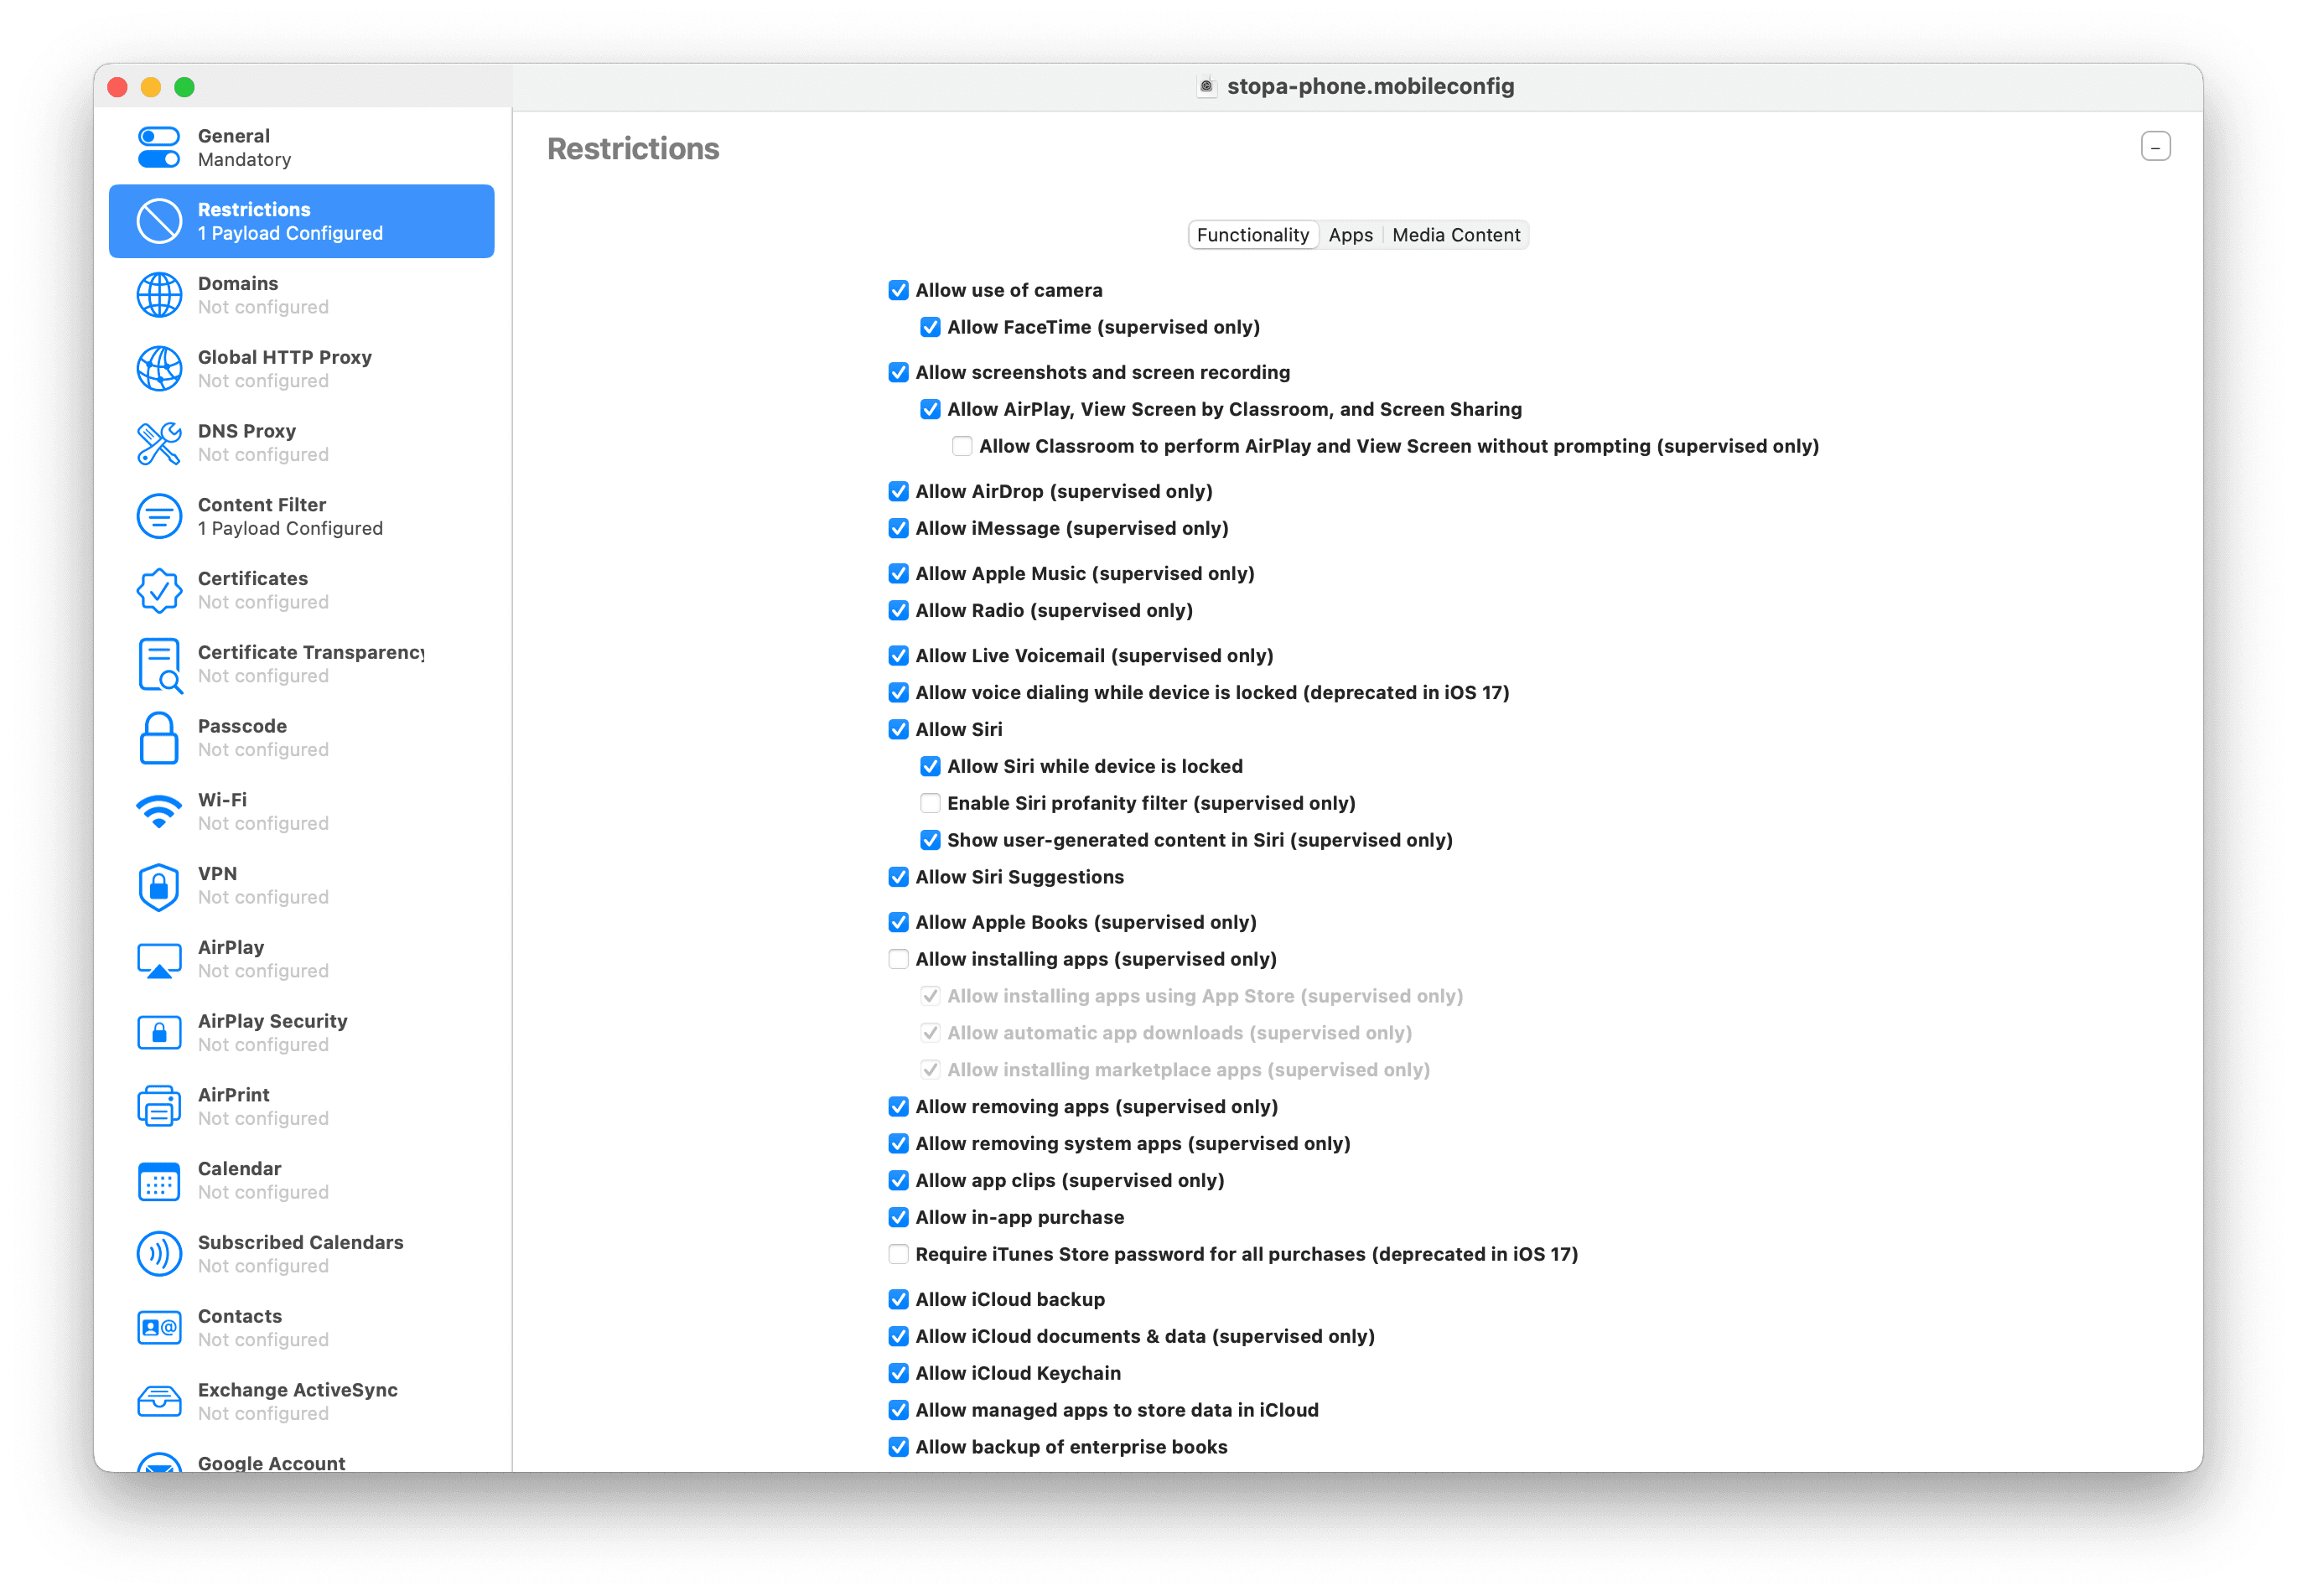
Restrictions
‘Restrictions’ are where we will disable the App Store. Click on ‘Restrictions’ → ‘Configure’.
Keep everything as it is, just uncheck ‘Allow Installing Apps’
With that, save your profile. Once we install this profile on your phone you’re done.
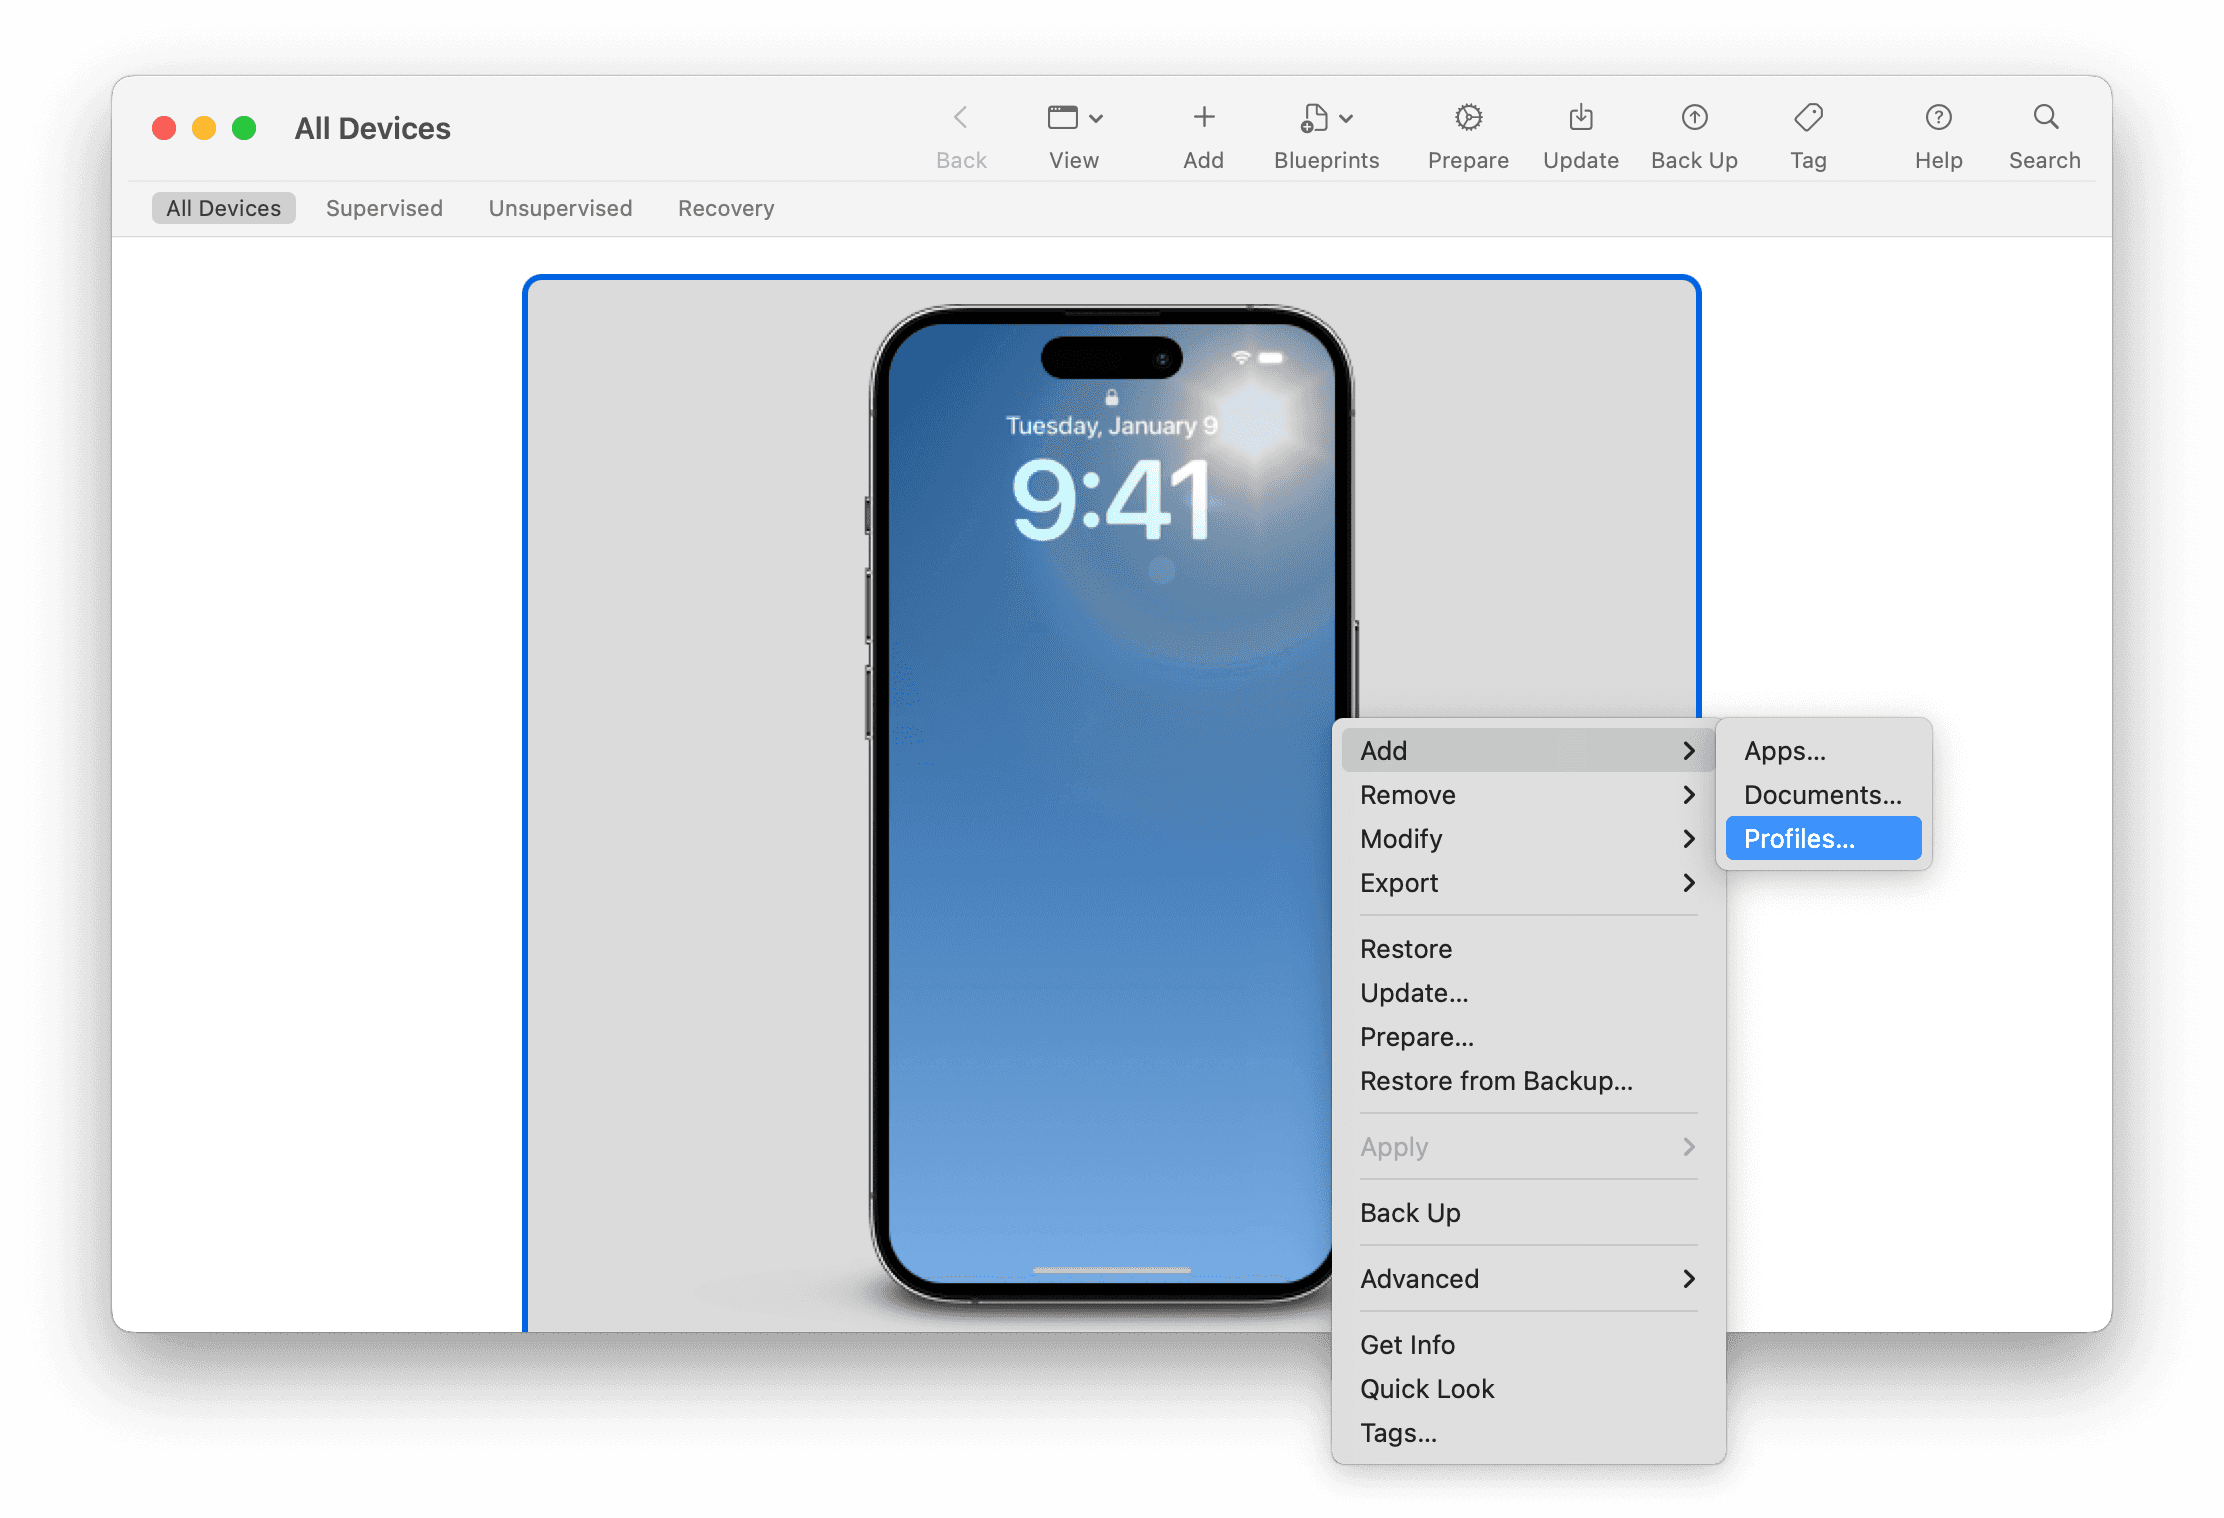
6. Add your profile
So let’s install this profile to your iPhone.
Right click your phone on Configurator, hit ‘Add’ → ‘Profiles’, pick your profile, and you’re ready to go!
When you load your phone, you should no longer see an App Store!
An on/off switch
After a while you may realise you need to install some new apps. When you want to do that, connect your phone, ‘Right click’ → ‘Remove’ → ‘Profile’
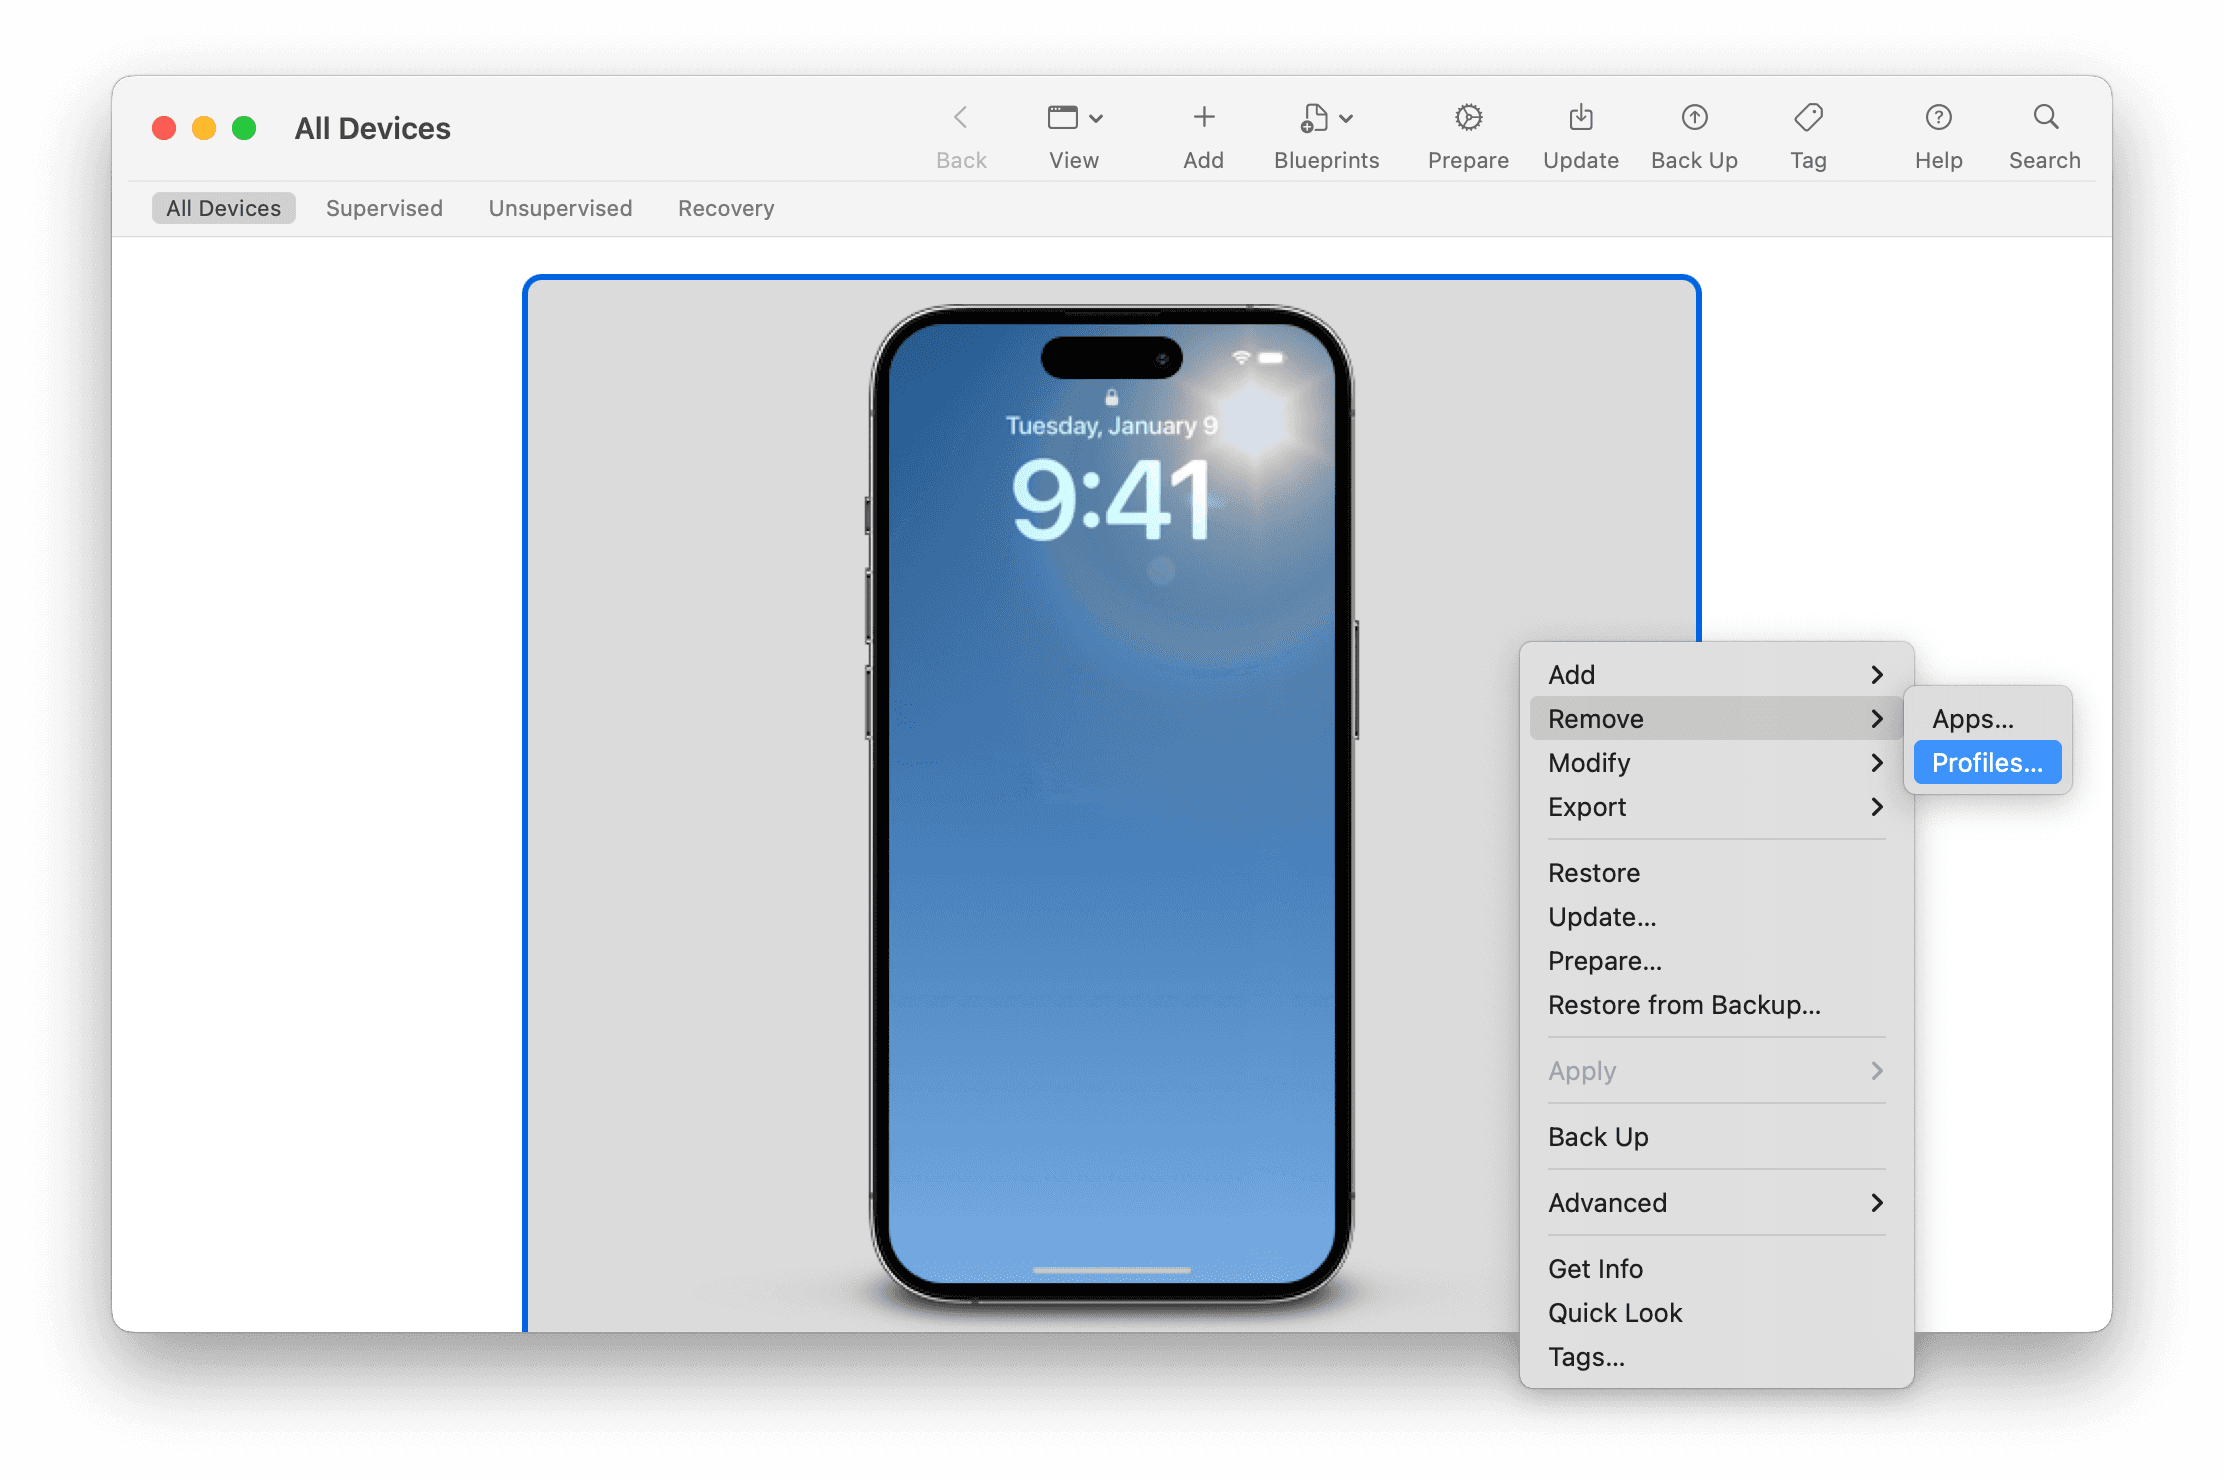
Once you remove your profile, you’re back to a restrictionless world. Make all the changes you need, and then add it back.
And that's it
And with that, you have an iPhone that is no longer a gateway to the entire internet. If you end up implementing this, drop me a line to let me know how you've got on.